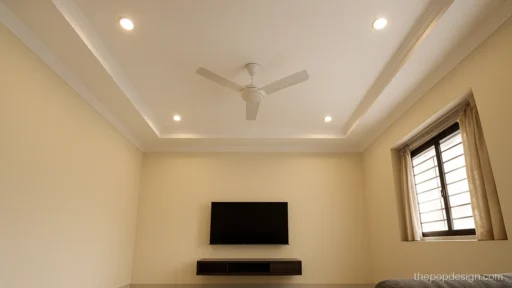
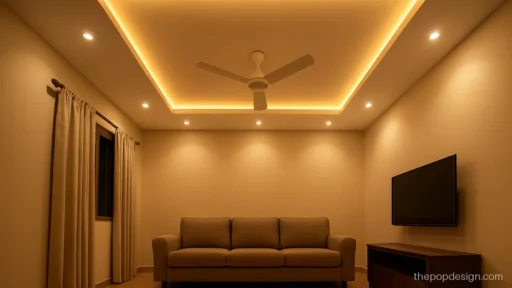
POP TV Unit Design for Hall and Bedroom Walls
- 12 designs
- Walls and details
- Updated 07 Oct 2026
A pop tv unit design turns a bare wall into the main feature of the hall, and it hides the wires at the same time. POP can make raised panels, grooves, niches for décor and soft back light, all on one wall, without heavy carpentry.
This gallery shows TV walls for the hall, units with open niches, bedroom TV walls and modern panels with light. In every picture the TV is switched off, so you can see the design clearly. Each one has a note on depth, wiring and finish for your POP wala.
Want the ceiling to match? See hall POP design. For other wall ideas, visit POP wall design.
POP TV Unit Design for Hall
A hall tv pop design should be centred on the sofa, not just on the wall. Mark the sitting position first, then the TV, then the panels around it. A good pop design tv unit starts from where you sit.
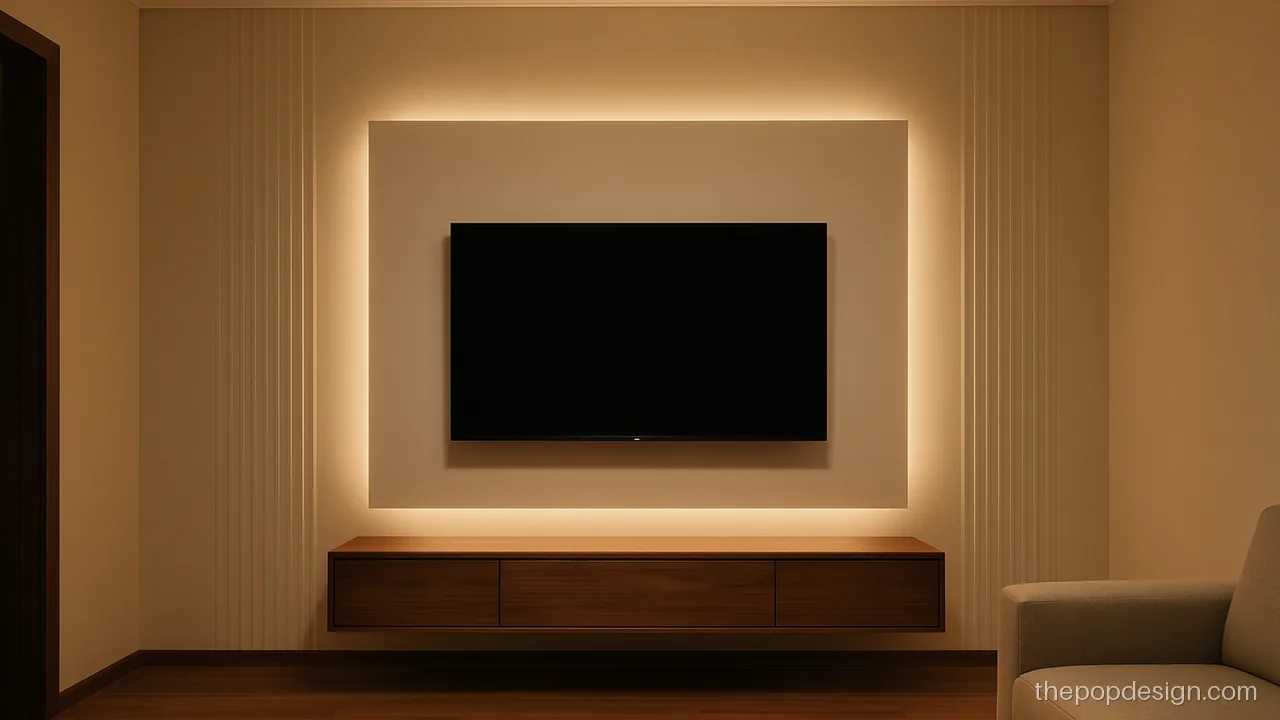
A raised centre panel holds the TV and vertical grooves run down both sides. Balanced and easy to build.
Contractor tip: Panel 2 inches proud of the wall. Run TV, HDMI and power pipes inside before POP.
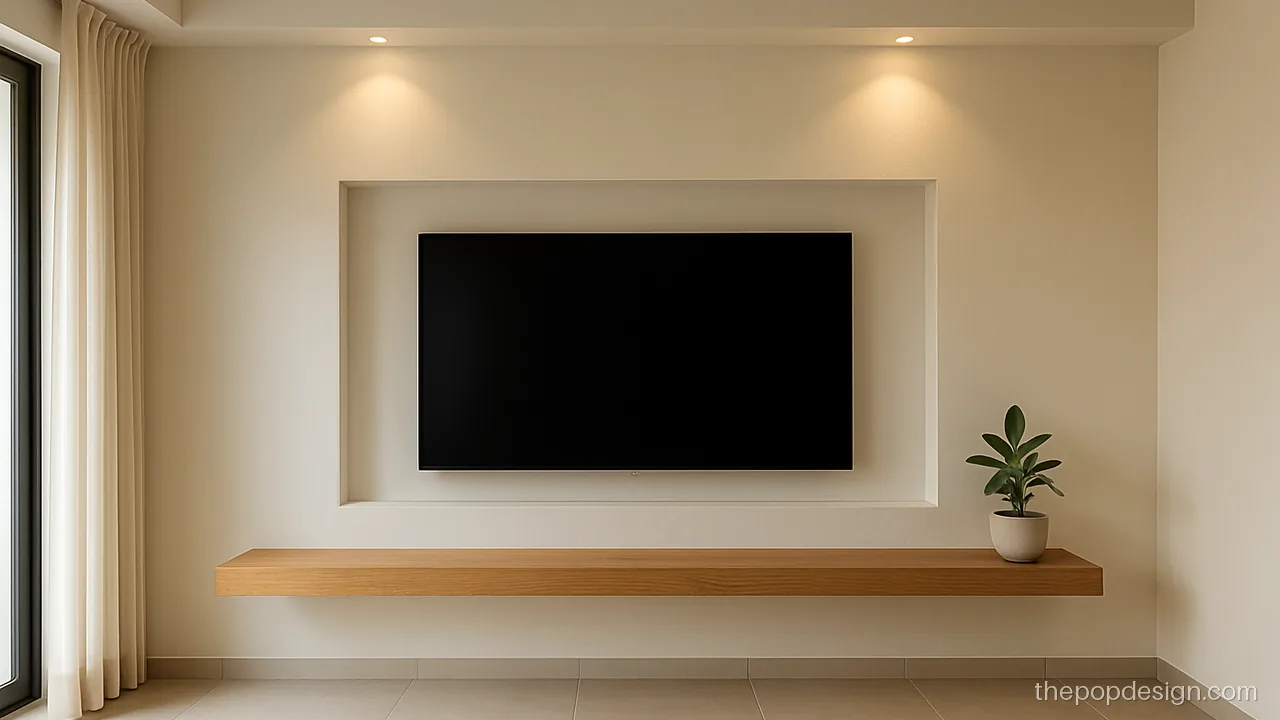
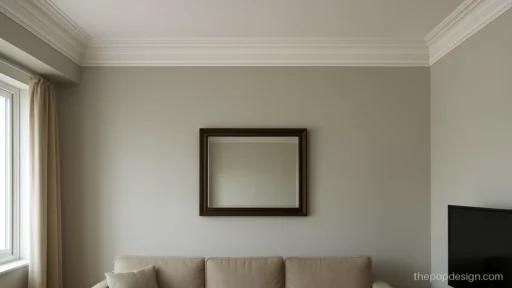
A grey frame around the TV with a long wood ledge below gives a neat, modern hall wall.
Contractor tip: Ledge on hidden steel brackets fixed to the wall. Paint grey only inside the frame.
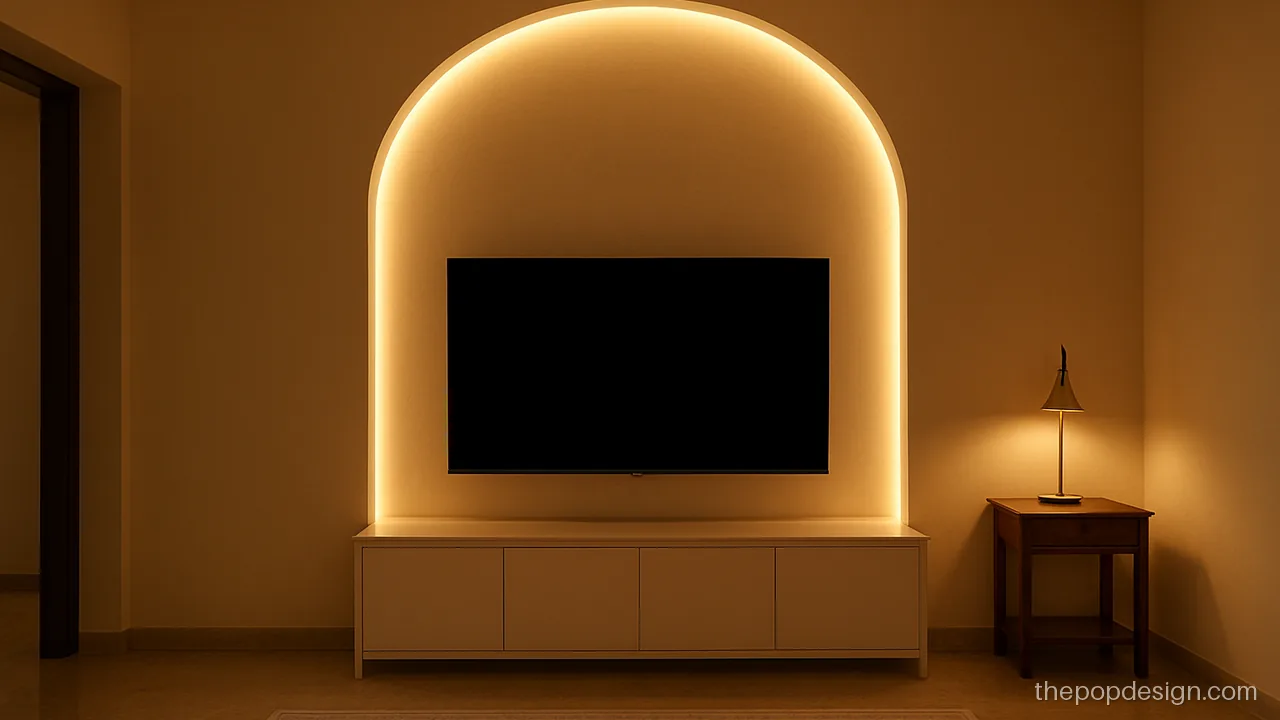
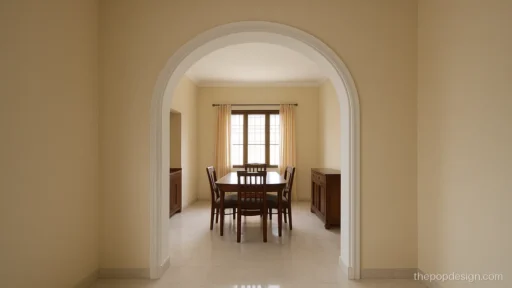
A tall arched recess frames the TV for a soft, curved look. Works with arch doors elsewhere in the home.
Contractor tip: Arch on a GI frame, 4 inches deep. Use one template so the curve is smooth.
TV Unit Pop Design With Niches
Niches give space for books, plants and small lamps without extra furniture. A tv unit pop design with niches suits halls that lack a showcase. Keep niche depth at 4 to 6 inches.
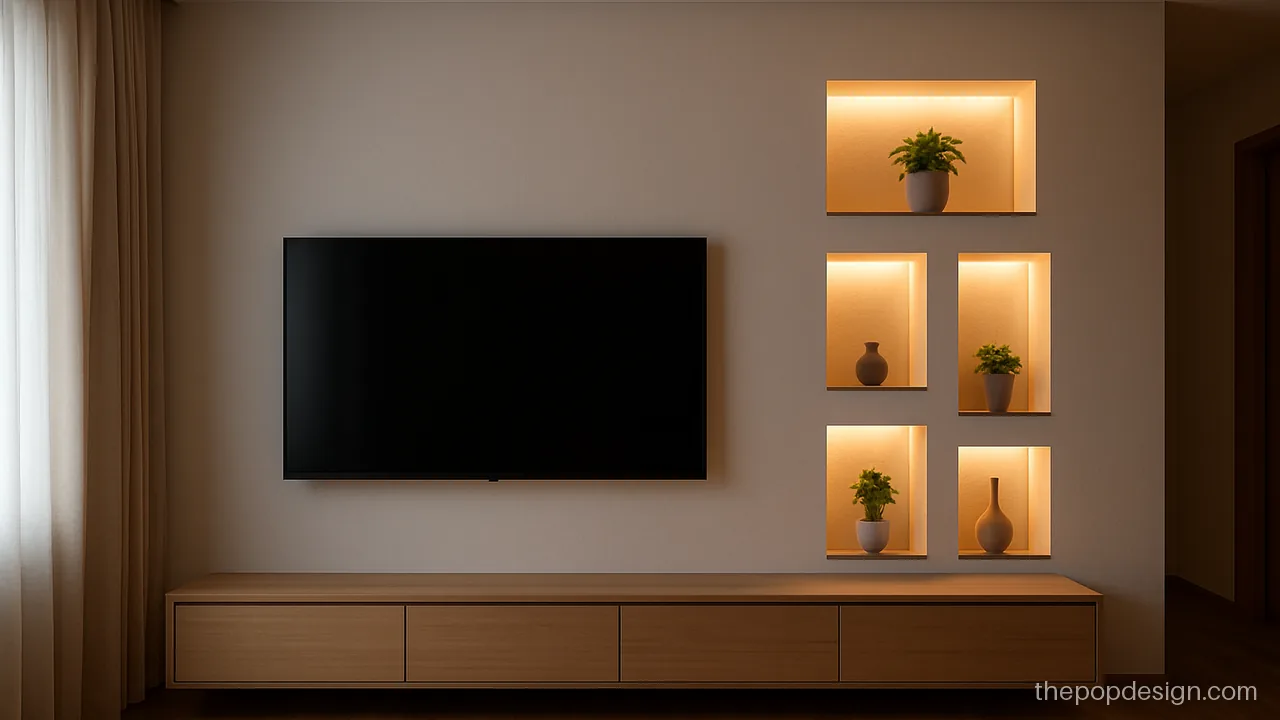
Open niches of different sizes on one side balance a large TV on the other.
Contractor tip: Niche depth 5 inches. Fix oak shelves to the wall frame. Strip lights on a separate switch.
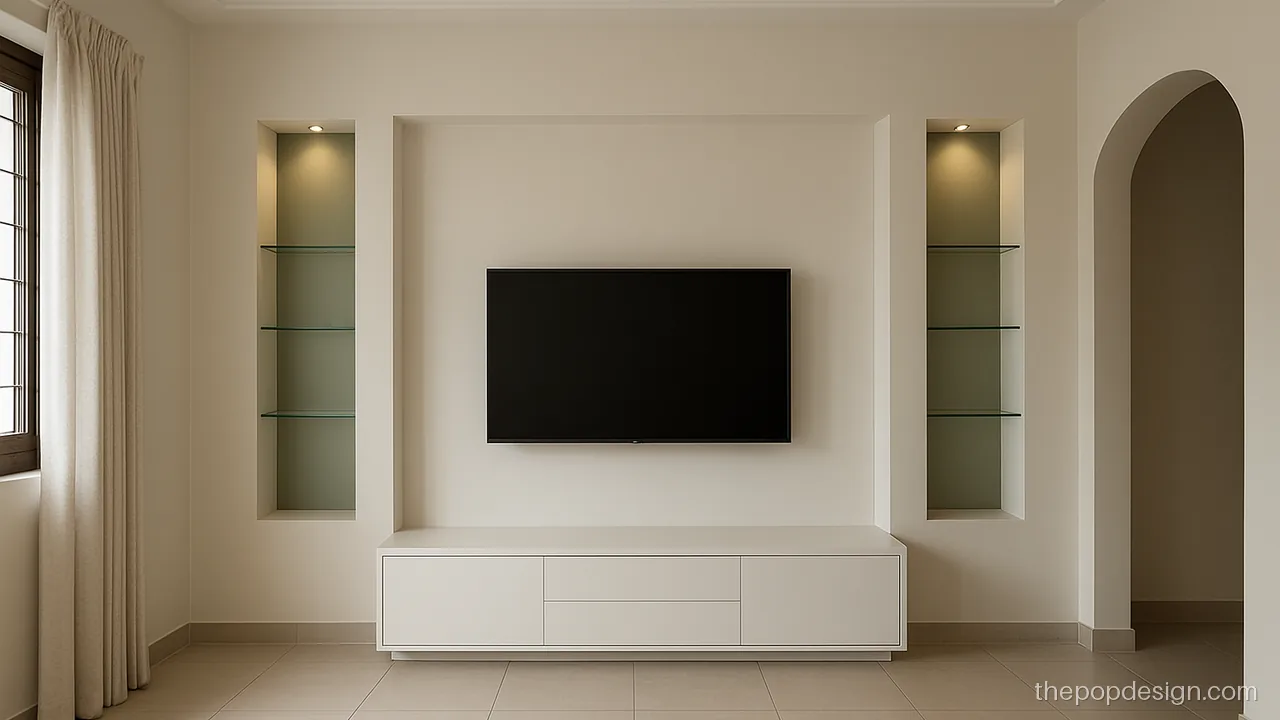
Two tall niche columns with small shelves frame the TV like a showcase.
Contractor tip: Columns 15 inches wide each. Plan spot cut-outs at the top of every niche before punning.
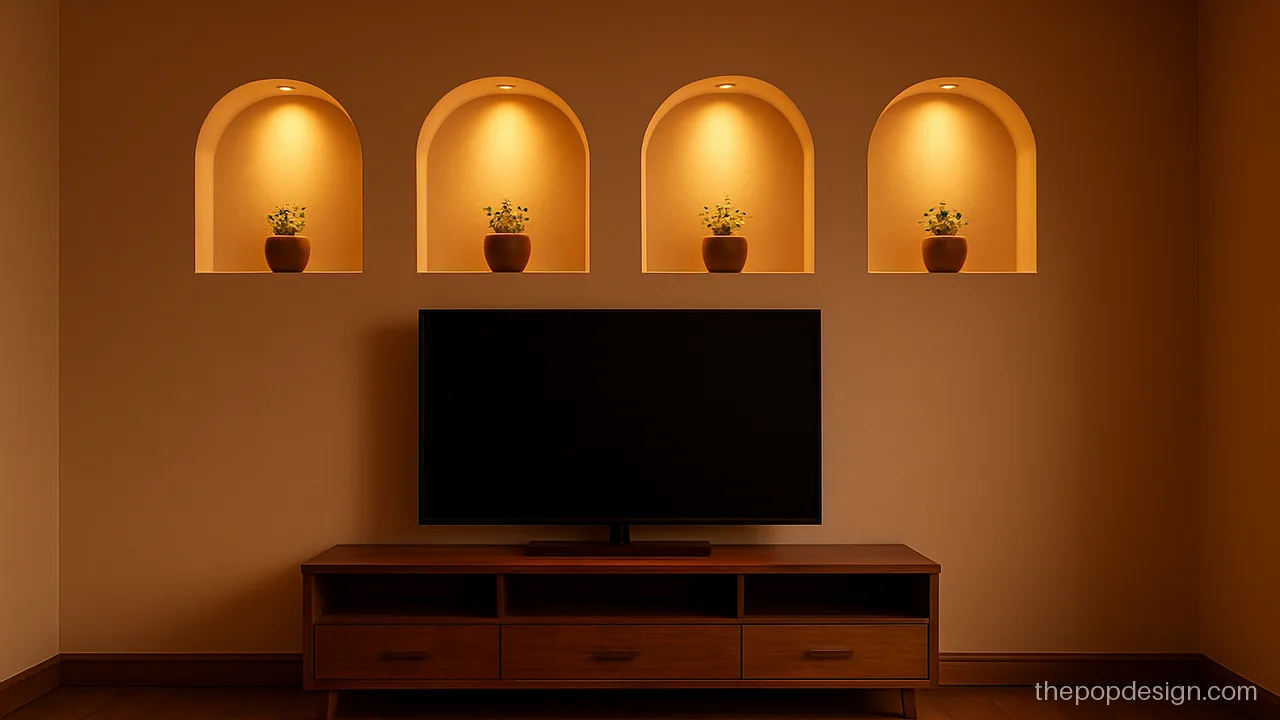
Round top niches above the TV act as a showcase for brass and pottery.
Contractor tip: Round tops from one template. Keep the top niche row at least 18 inches above the TV.
Bedroom POP TV Wall Design
In bedrooms the TV wall should stay calm. Use soft colours, low light and few shapes. Our bedroom POP design page has ceilings to pair with these.
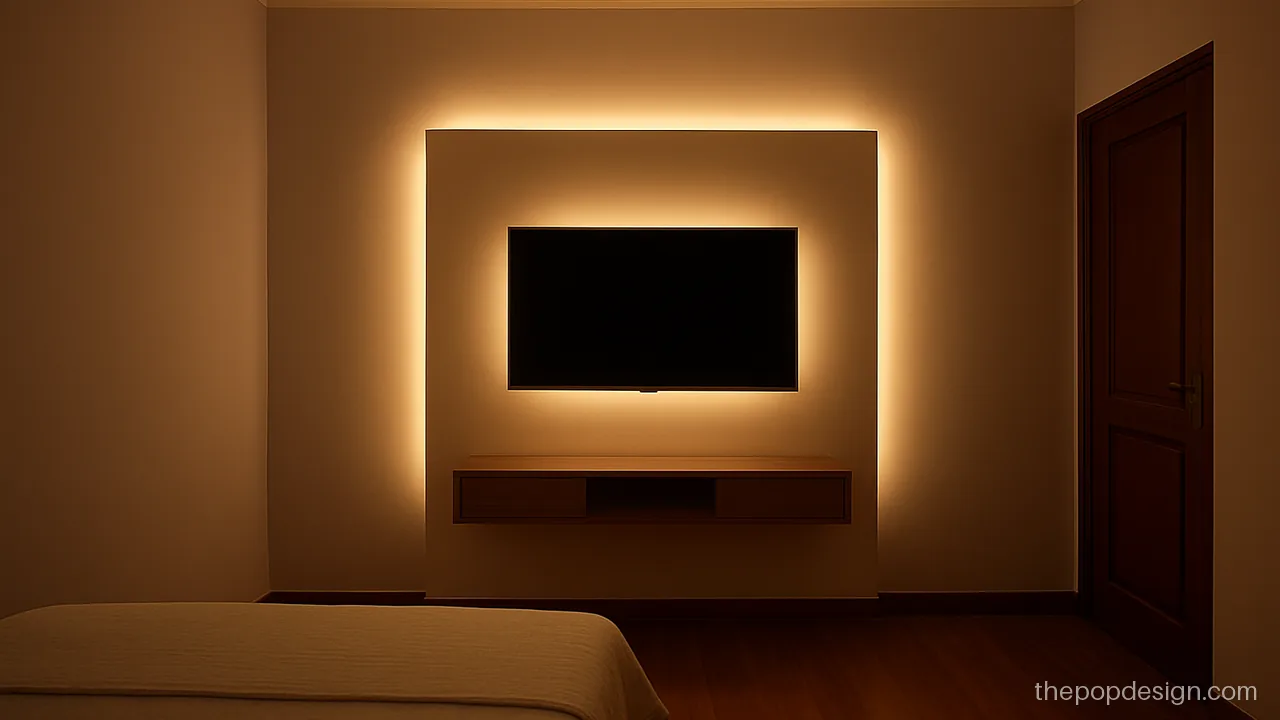
A slim raised frame is all a small bedroom TV wall needs. Low cost and easy on the eyes at night.
Contractor tip: Frame 1 inch raised. Put the switch board low on the side so wires stay hidden.
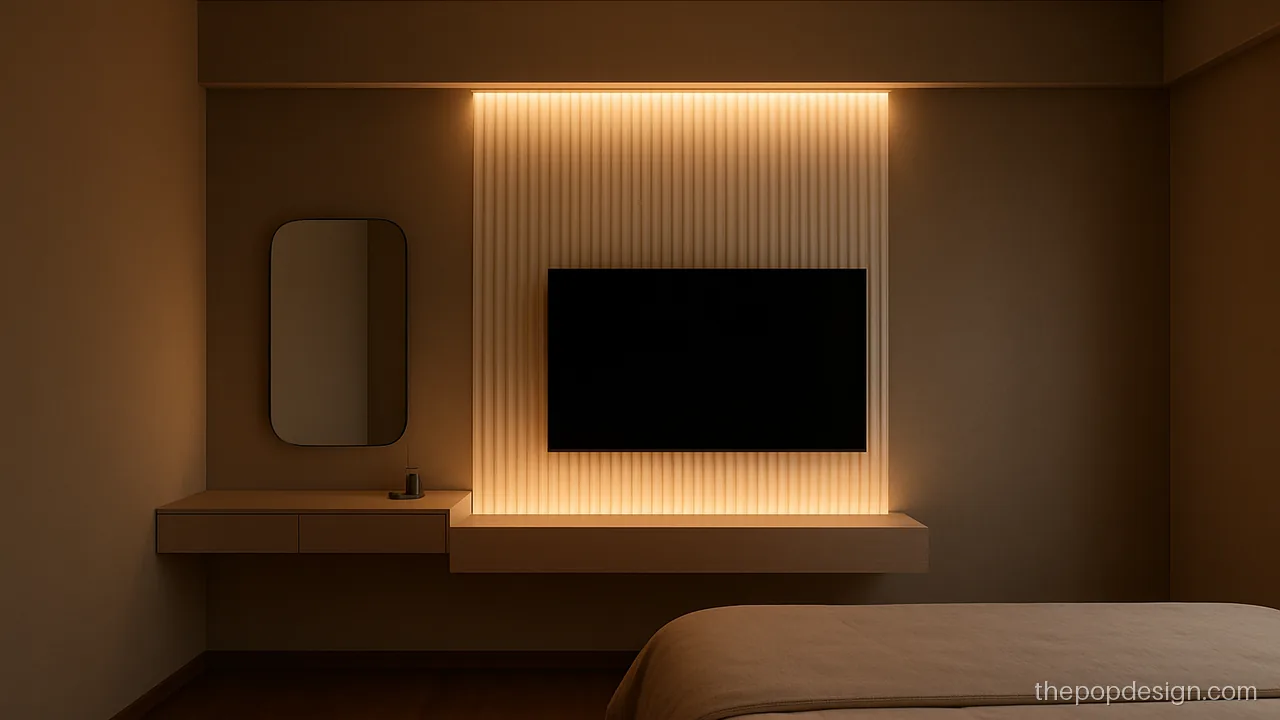
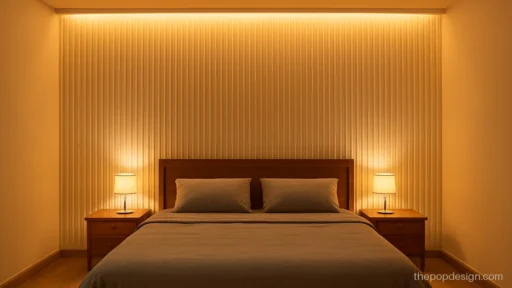
A fluted POP panel behind the TV adds texture, and a shelf beside it doubles as a dresser.
Contractor tip: Flutes cast with a running mould. Seal fully before paint so lines stay crisp.
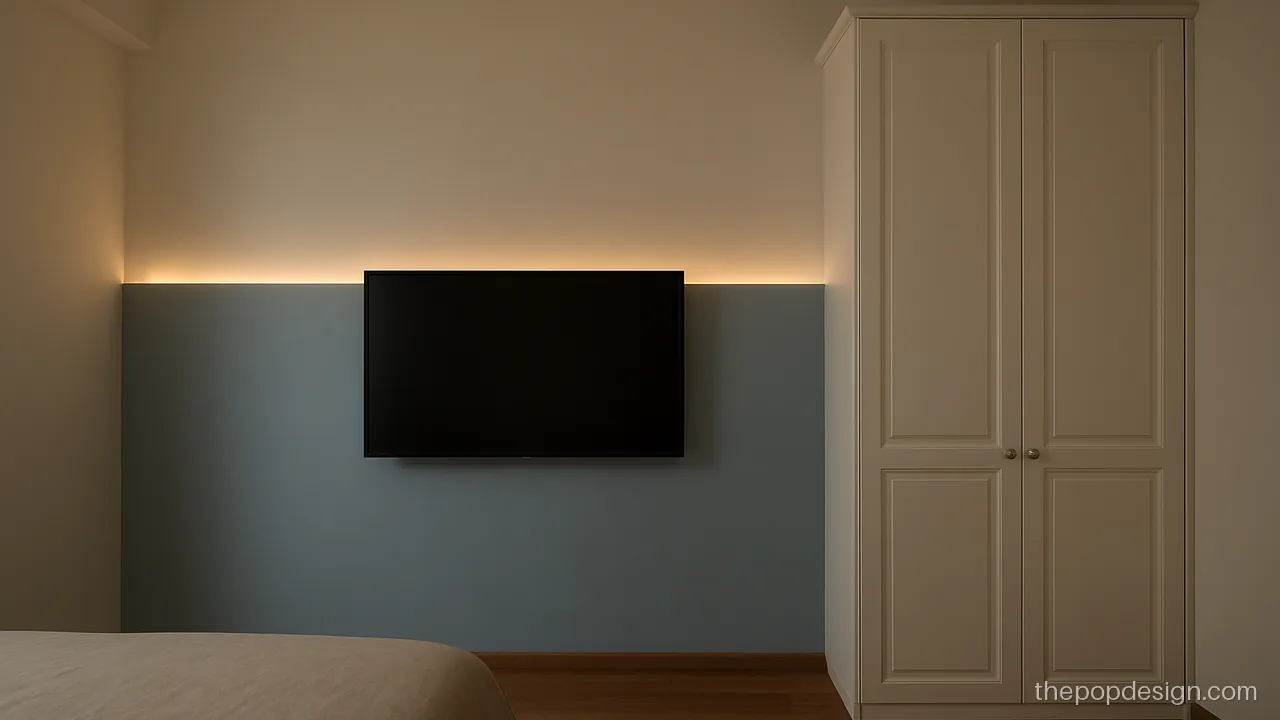
Two tone panels link the TV wall to the wardrobe for one tidy wall. A good pick where the wardrobe and TV share a wall.
Contractor tip: Leave a 2 inch gap between POP and wardrobe for movement. Paint after the shutters are fixed.
Modern Pop Design for LCD TV Wall Unit With Light
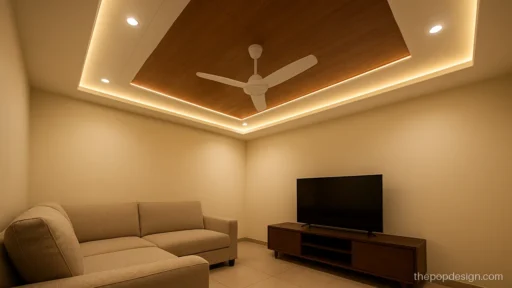
For a pop tv wall design latest look, profile lights and back lights do most of the work. Keep light warm and behind the TV to cut glare. See POP profile light design for more.
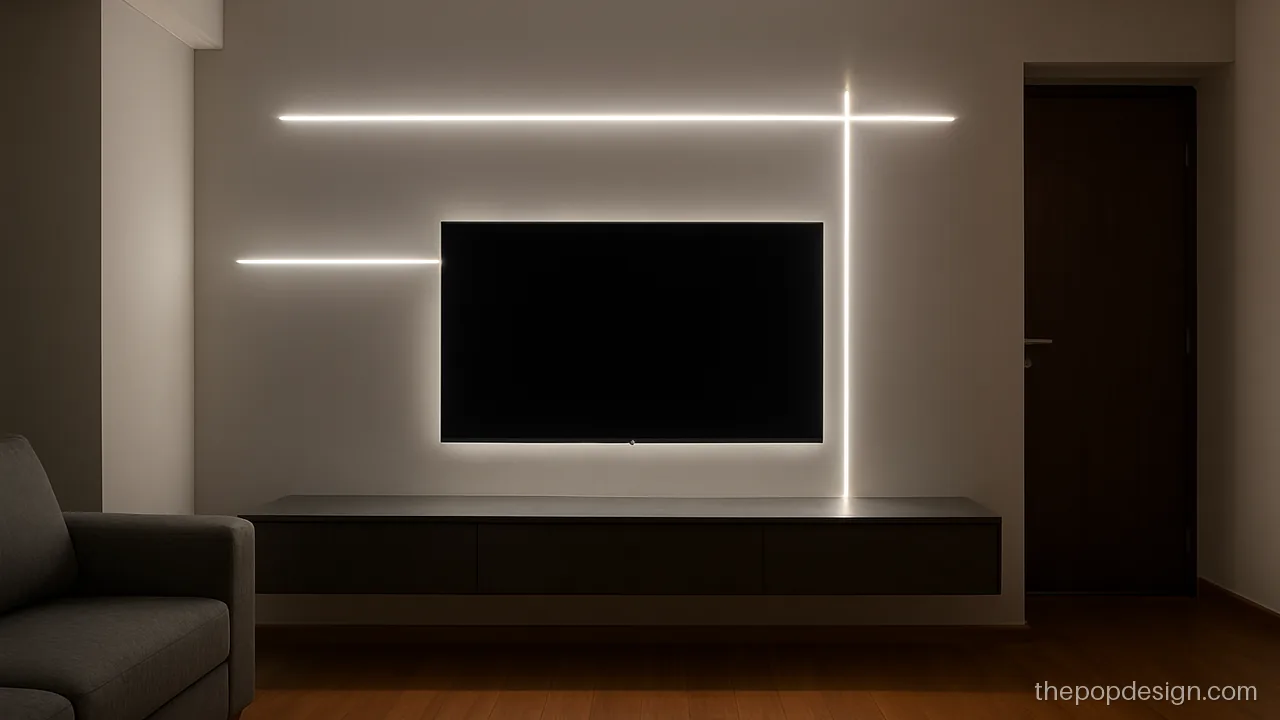
Two offset profile light lines cross behind the TV for a sharp, modern wall.
Contractor tip: Profiles set in aluminium channels flush with POP. Keep drivers reachable through a small panel.
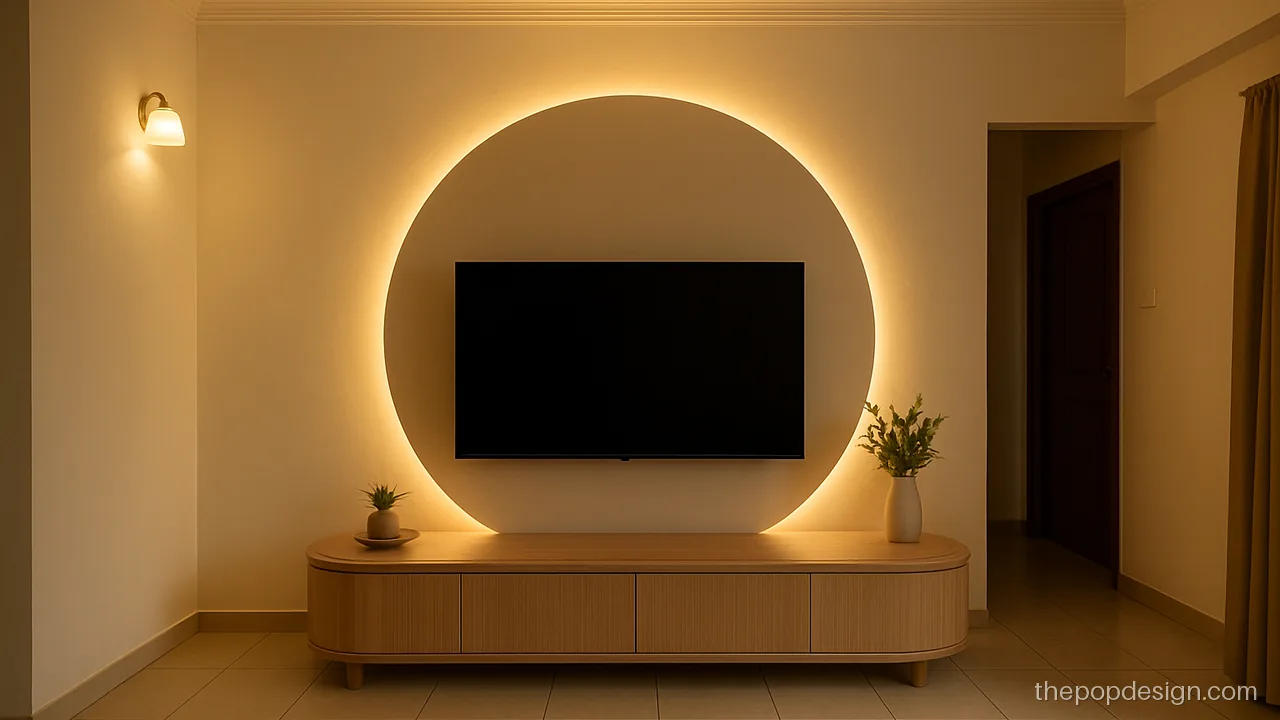
A large round back-lit panel behind the TV gives a soft halo, a fresh look right now.
Contractor tip: Round panel 3 inches off the wall. Strip light on the back edge, facing the wall.
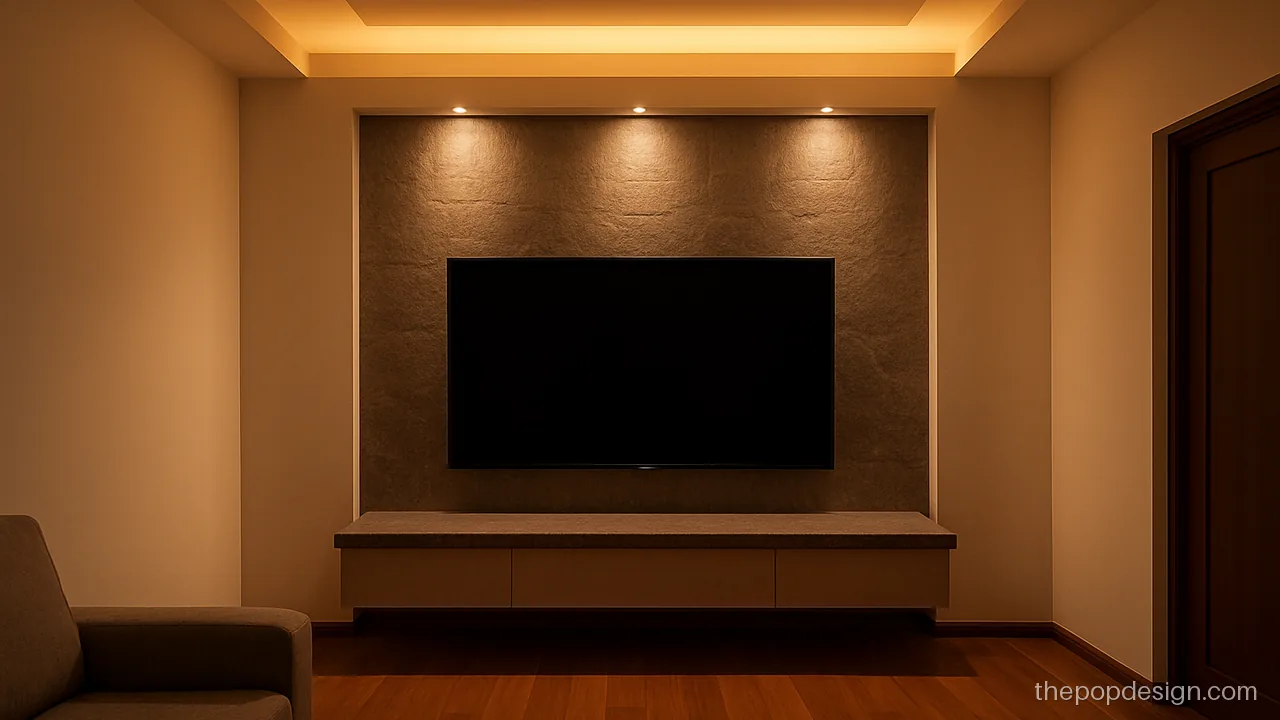
A stone look panel runs from the stand up to a ceiling cove, joining the wall and chhat in one design.
Contractor tip: Plan the ceiling cove and wall panel together. Texture paint after full drying, sealed with clear coat.
Planning a POP TV Wall Design
- TV height: centre of the screen at eye level from the sofa, usually about 3.5 to 4 ft from the floor.
- Wall width: panel or frame about 1.5 times the TV width looks balanced.
- Wiring: run power, HDMI and set-top cable pipes inside the wall before POP.
- Bracket: the TV bracket must be fixed into the brick or concrete wall, not into POP.
- Depth: raised panels 1 to 3 inches, niches 4 to 6 inches.
For POP vs board options on walls, see PVC and gypsum POP design.
Light, Finish and Cost
Warm back light behind the TV reduces eye strain at night. Keep spots off the screen to avoid glare. Use matt or satin paint so light does not bounce.
| Design | Budget |
|---|---|
| Slim frame or grooves | Low |
| Raised panel with back light | Medium |
| Niches with shelves | Medium to high |
| Texture panel with ceiling cove | High |
Cost is priced on the square feet covered, at the contractor's rate for that kind of design, with extras added on top, plus extras like profile lights, wood shelves and texture paint. Let new POP dry around a week or more before paint. Small cracks near the TV bracket usually mean the bracket was fixed into POP; it must go into the wall behind.
POP design questions
What is the best simple pop design for tv wall in a small hall?
A slim raised frame or a few vertical grooves around the TV work best. They cost less and keep the wall clean. Add a warm back light for evenings.
Can I mount the TV on a POP panel?
No. The bracket must go through the POP into the brick or concrete wall. POP alone cannot carry the TV weight and will crack.
Is a pop tv panel design better than a wooden one?
POP is seamless, cheaper for curves and easy to repaint. Wood feels warmer but costs more. Many homes mix both, with POP panels and a wooden ledge.
Which tv pop design photo style is trending right now?
Round back-lit panels, fluted textures and offset profile light lines are popular. Arched recesses are also in demand. Keep one feature and let the rest stay plain.
How deep should niches be in a tv unit design pop?
Keep niches 4 to 6 inches deep. That holds books, plants and small lamps without the wall getting too thick. Shelves inside should be fixed to the wall frame.
Can the TV wall and ceiling POP be done together?
Yes, and it is the best way. Plan the ceiling cove and the wall panel on one drawing. The mistri can then line up lights and wiring for both.