POP Ceiling Design Ideas for Every Room
- 18 designs
- Ceiling, fans and lights
- Updated 07 Oct 2026
A good POP ceiling design starts with the slab above you: its height, its beams, and where the fan hooks sit. Get those right and almost any style will look neat.
Every POP design in ceiling photo form below is an original layout, grouped by type. Each card tells you the room size, lighting, budget and what to check with your POP wala. Your mistri may call it the POP for ceiling ka design or just chhat ka design; it is the same thing. For the frame and board side of the job, see POP false ceiling design.
Single Level POP Ceiling Design
If you are new to POP for ceiling design work, start here. One level, one drop, clean edges. A single level ceiling pop design is the fastest to build and the easiest to keep crack free.
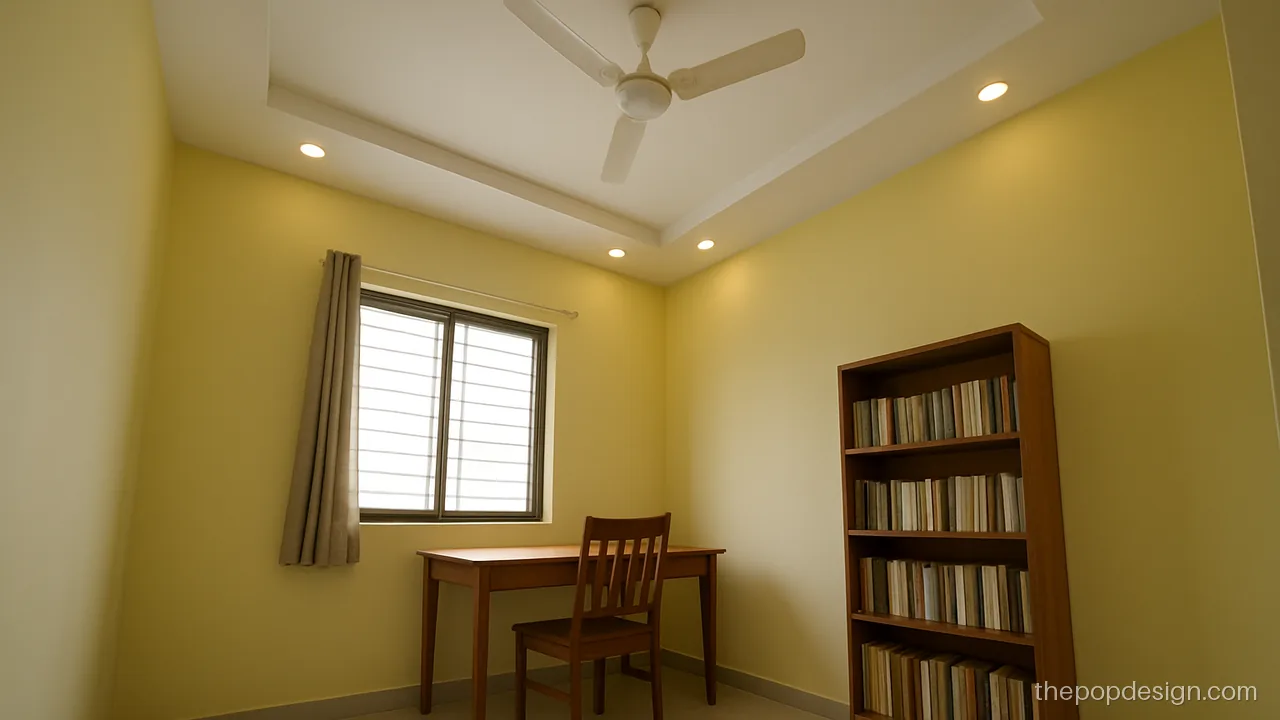
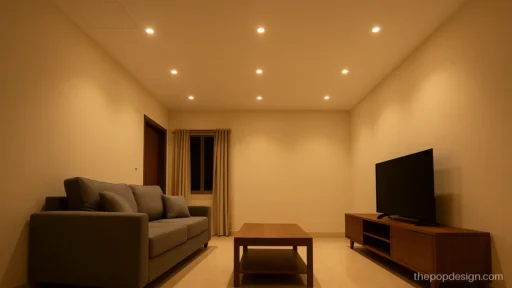
A plain flat border with a few spots is enough for a study or home office. Less work also means fewer joints to crack.
Contractor tip: Keep the border 18 inches wide and 4 inches deep. Tape every board joint with mesh before punning.
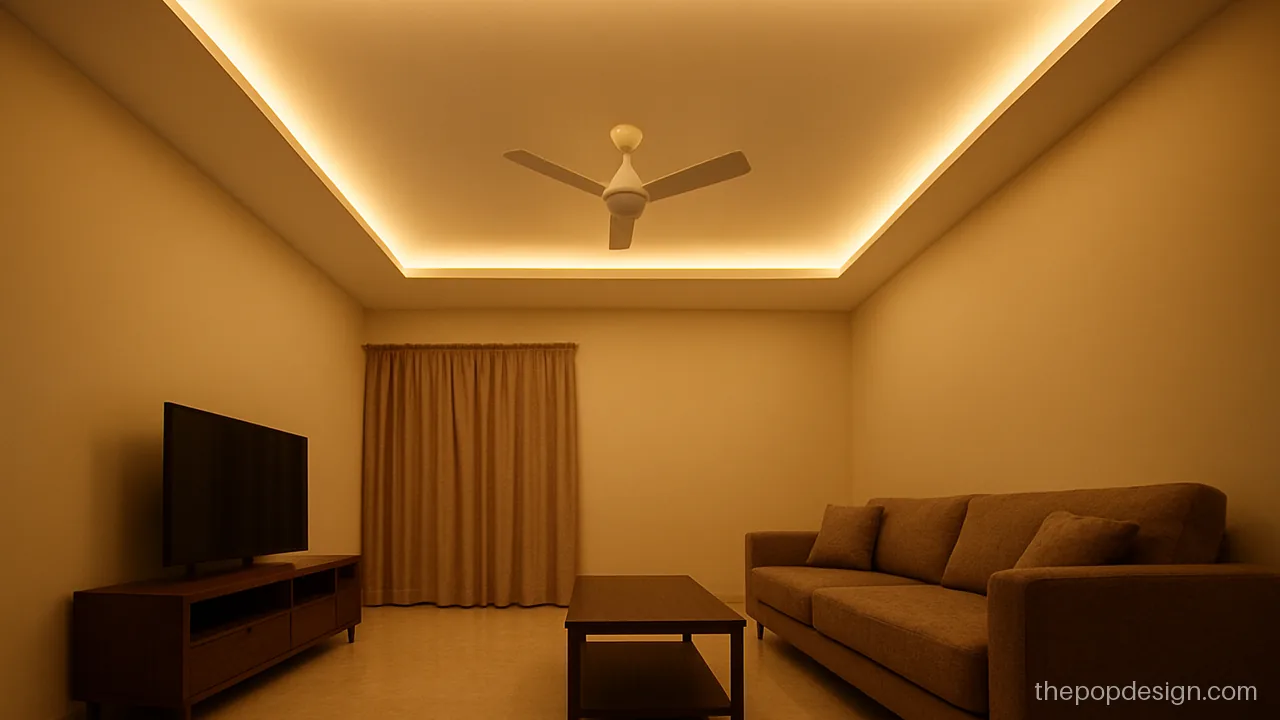
A single rectangle cut-out with a cove gives depth from one level only. It suits most halls with a 10 ft ceiling.
Contractor tip: Ask for one even drop of 6 inches. Check that the cut-out is centred on the sofa area, not the door.
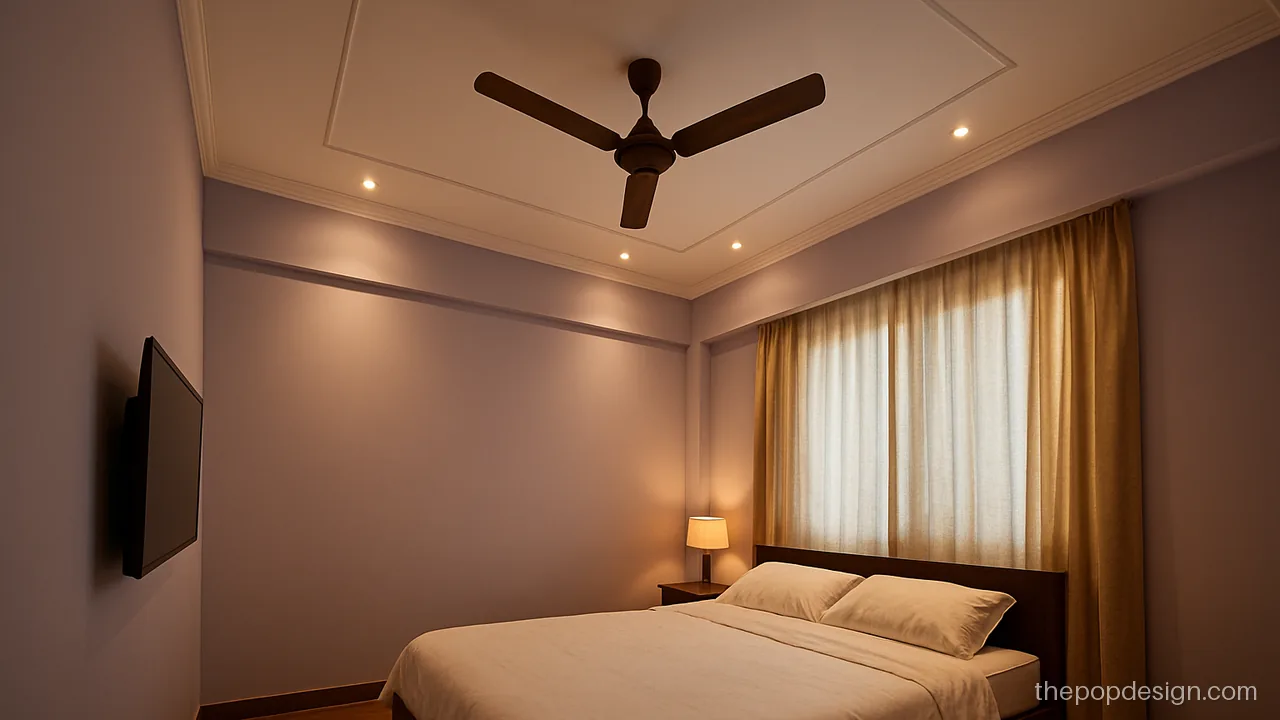
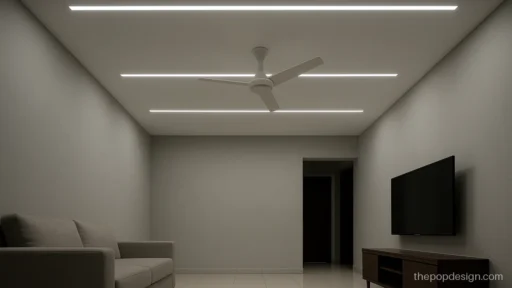
Thin grooves cut into a flat ceiling add detail without any drop. This is good for rooms where height is tight.
Contractor tip: Cut grooves only after punning sets. Keep groove depth to half an inch and space them equally.
Multi-Level POP Ceiling Design
Two or three levels add depth and shadow. Use this POP design ceiling style only when the room height is above about 10 ft.
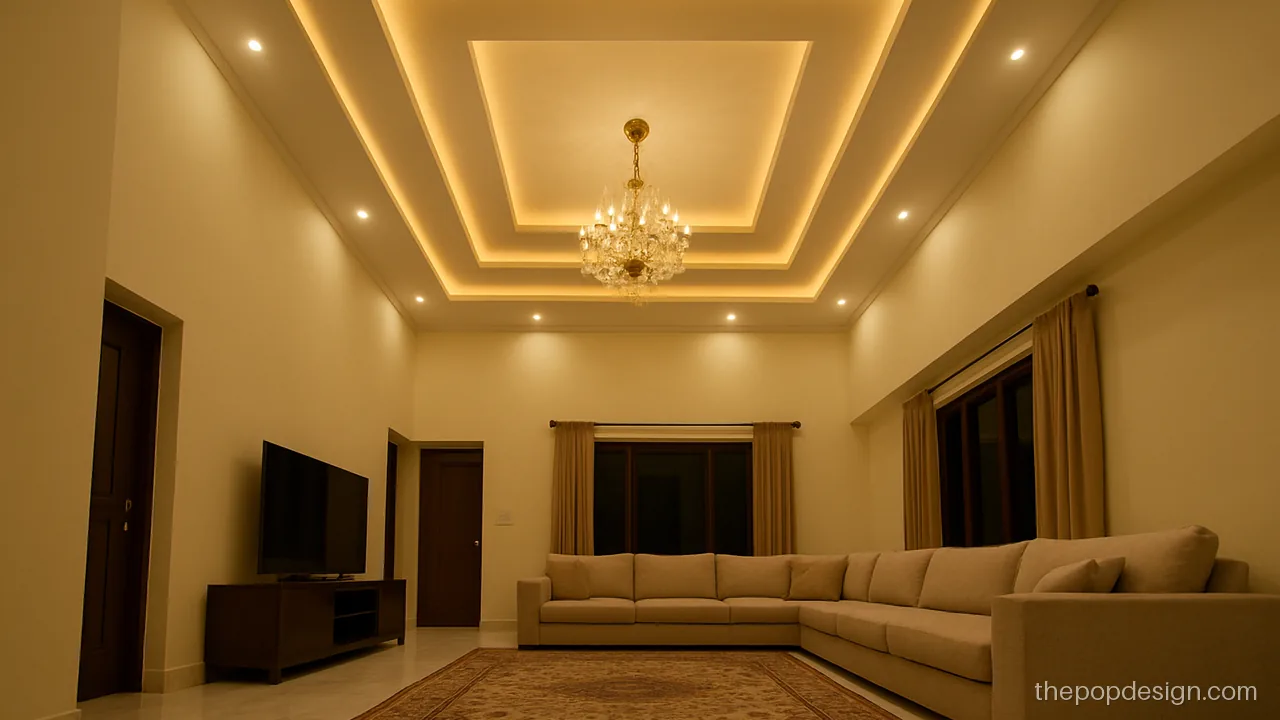
Three steps rise towards the centre and each step carries a slim cove. It suits big halls with a high slab.
Contractor tip: Plan total drop of 8 inches at the outer step. Check each step line with a laser level before punning.
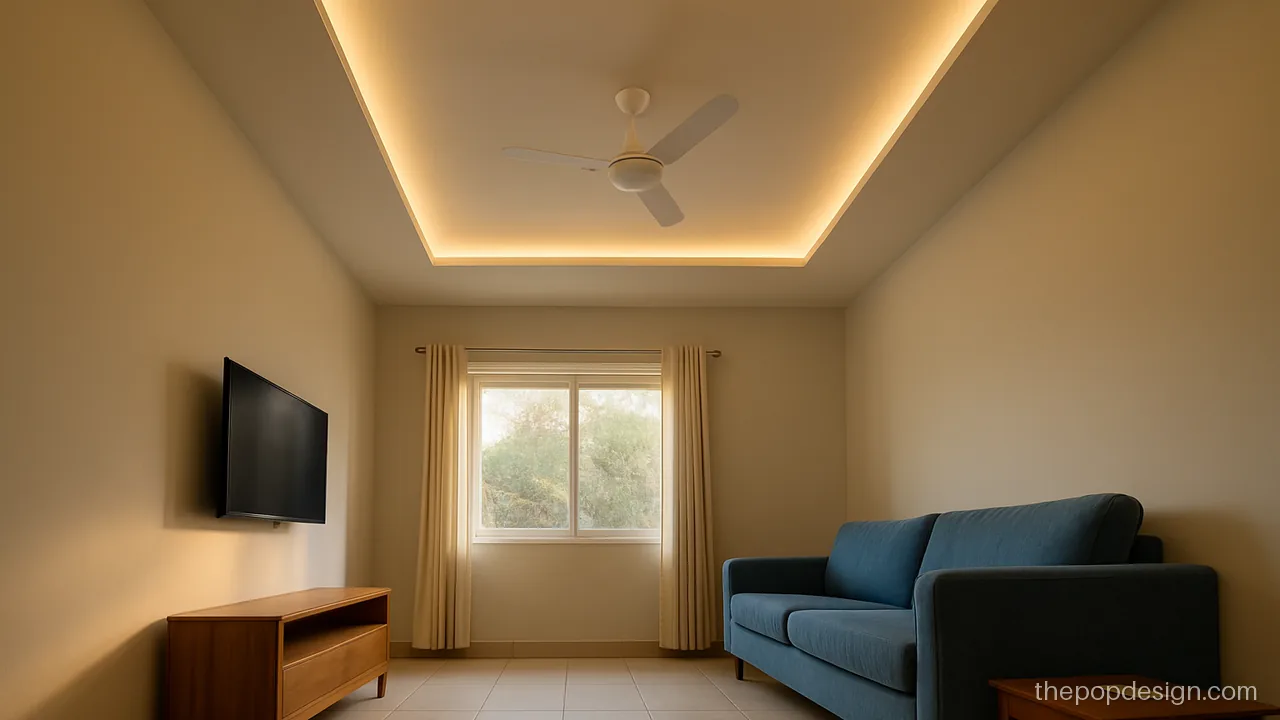
The two levels are offset, so one side is deeper than the other. This hides a slab beam on the deep side.
Contractor tip: Measure beam depth first and set the deep side to cover it. Keep the shallow side at 4 inches.
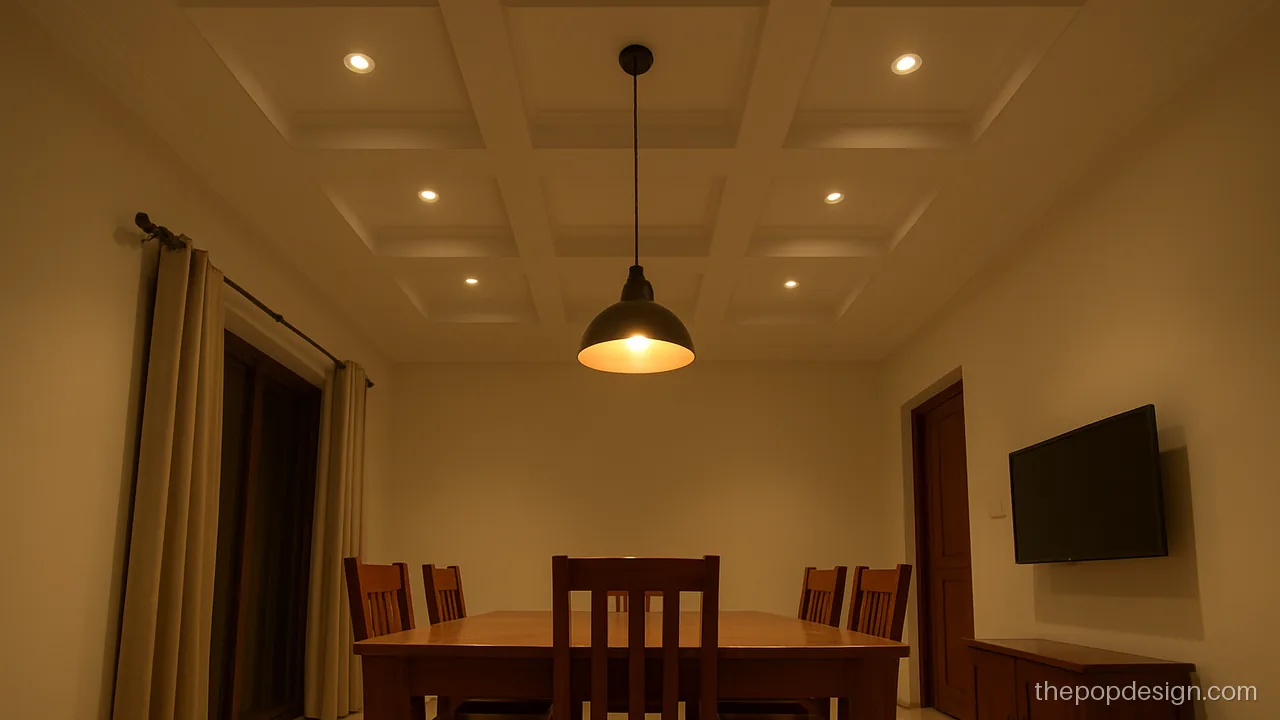
Raised and recessed squares make a playful pattern over the table. Keep it to the dining zone so the room does not look busy.
Contractor tip: Hang the pendant from a slab hook through the centre square. Ask for sharp edges on every plus and minus box.
Peripheral POP Ceiling with Open Centre
A peripheral design runs only around the edges. The centre stays at full slab height, so the room keeps its air and light.
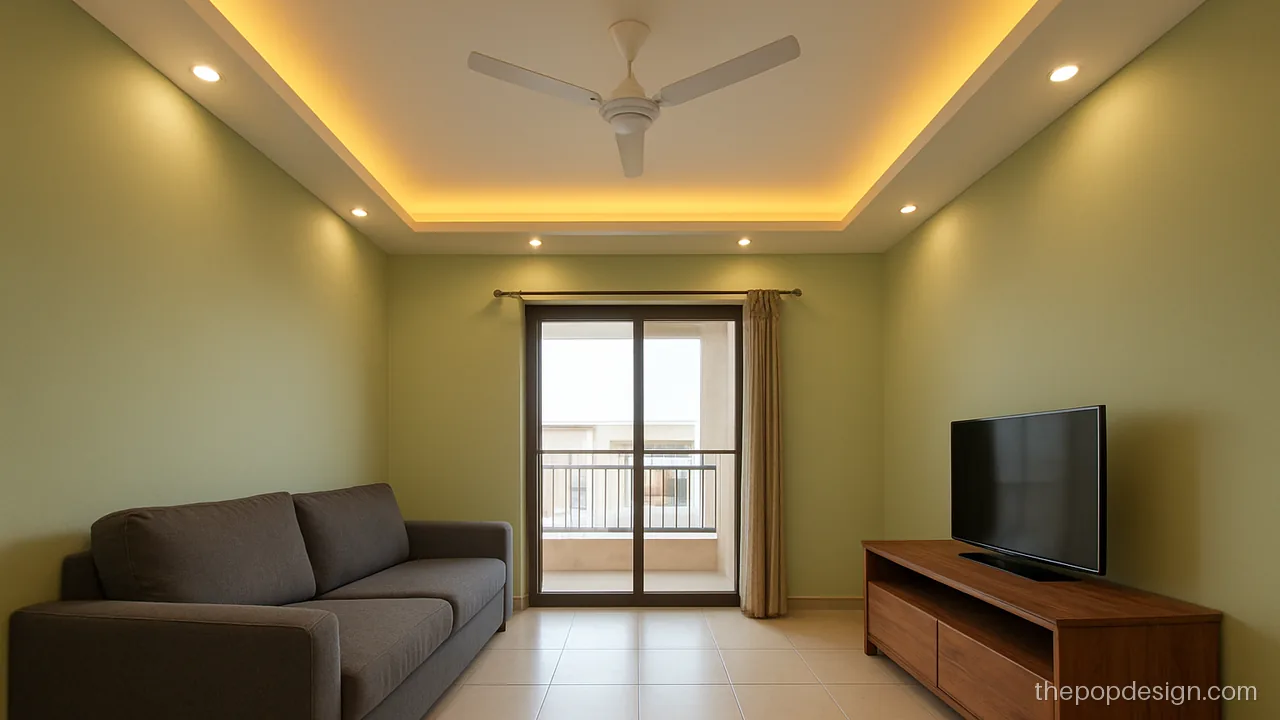
The wide band hides wiring and AC pipes while the centre stays high. It is a smart pick for flats with 9.5 ft ceilings.
Contractor tip: Keep the band 2.5 feet wide and the centre fully open. Run AC and light wiring inside the band only.
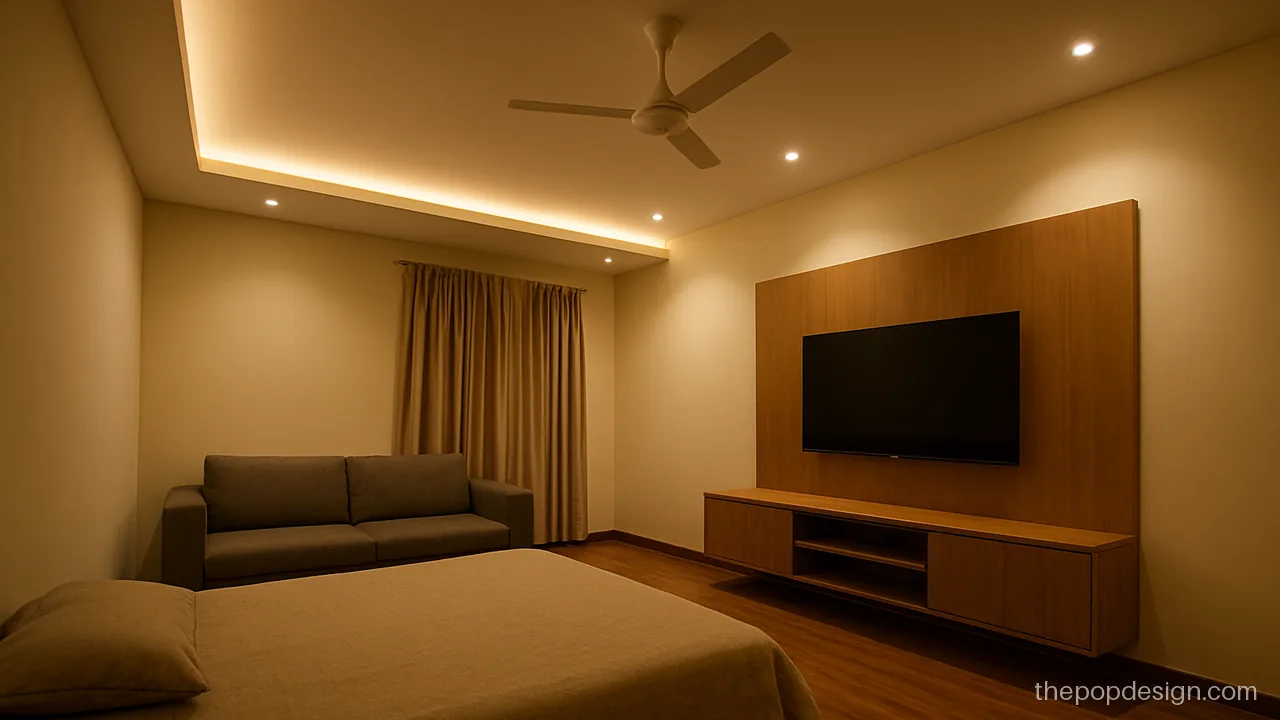
A half ceiling covers only the TV or bed wall side. It costs less and keeps most of the room at full height.
Contractor tip: Drop only the one side by 5 inches. Finish the open edge with a neat return and a straight line.
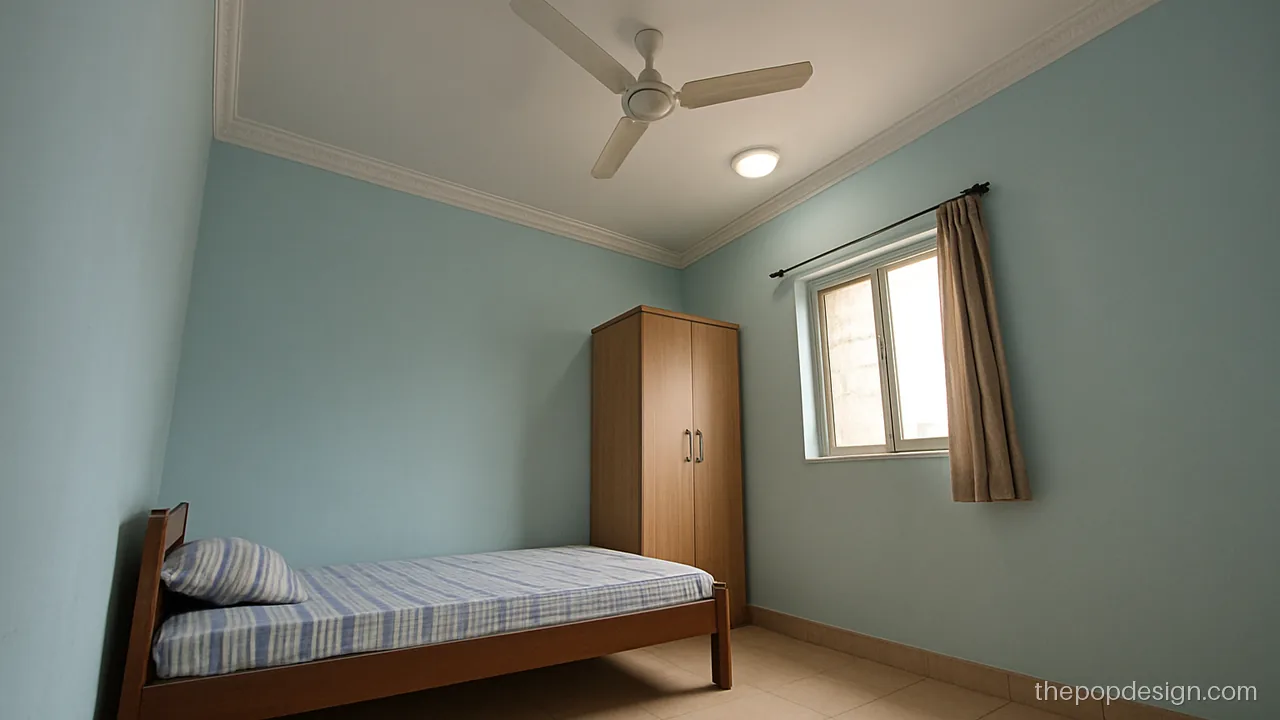
A thin moulding at the wall joint gives a finished look without any false ceiling. It is the lightest option of all.
Contractor tip: Fix the moulding with POP paste and screws at 2 feet. Fill joints well and let it cure before painting.
Ceiling Beam POP Design
Slab beams cut a room into odd parts. A ceiling beam POP design either boxes the beam neatly or uses it as part of the pattern.
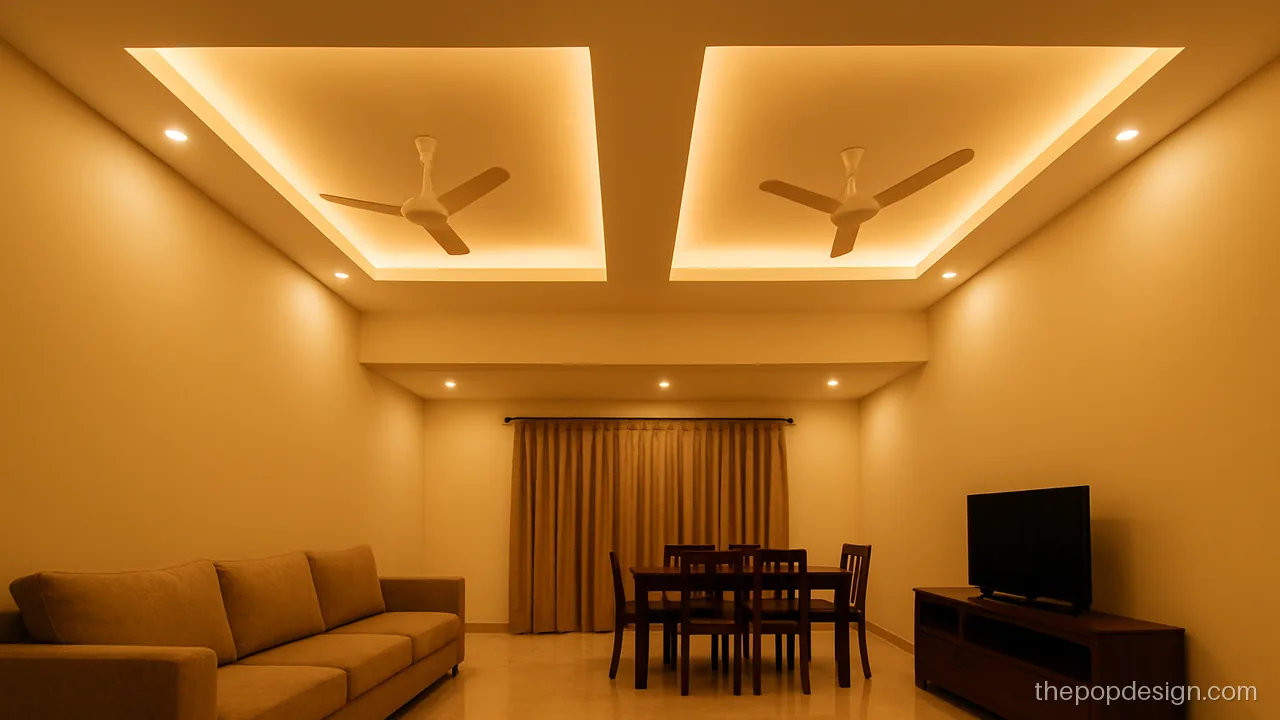
The beam is boxed and the ceiling on each side gets its own recessed panel. The beam now looks planned, not awkward.
Contractor tip: Box the beam first, then set both panels to the same depth. Check the beam box sides are plumb.
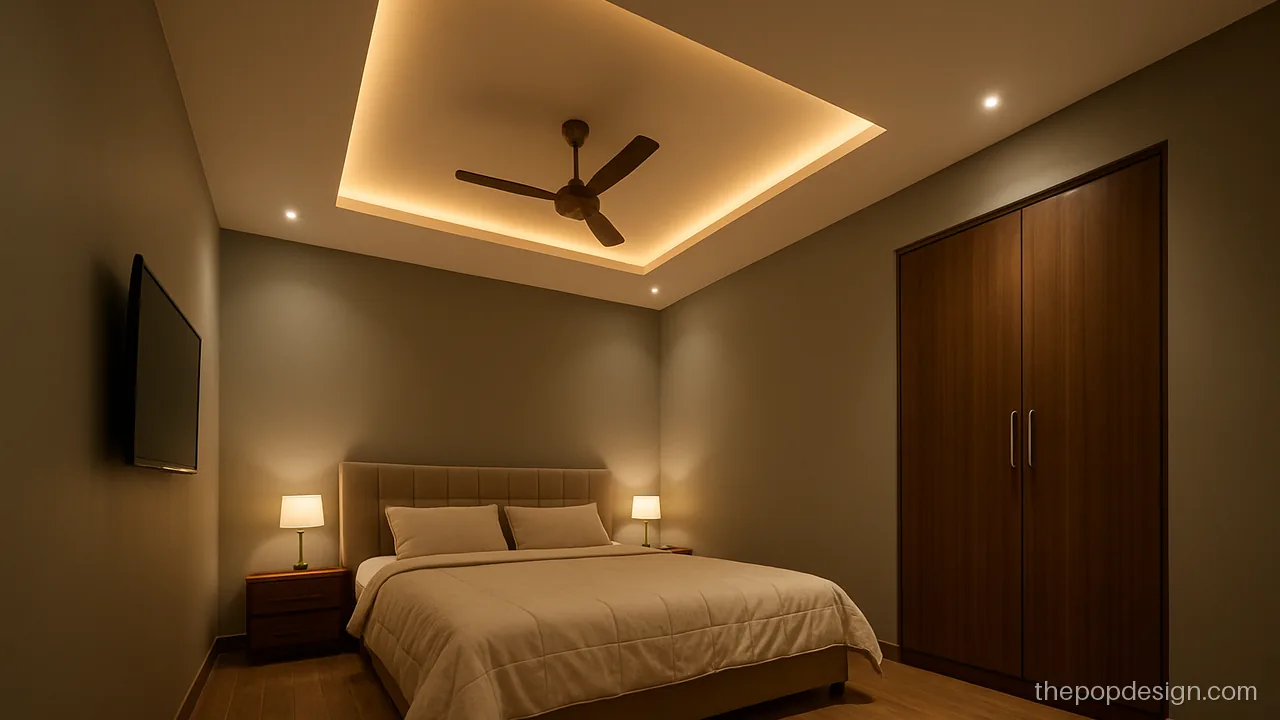
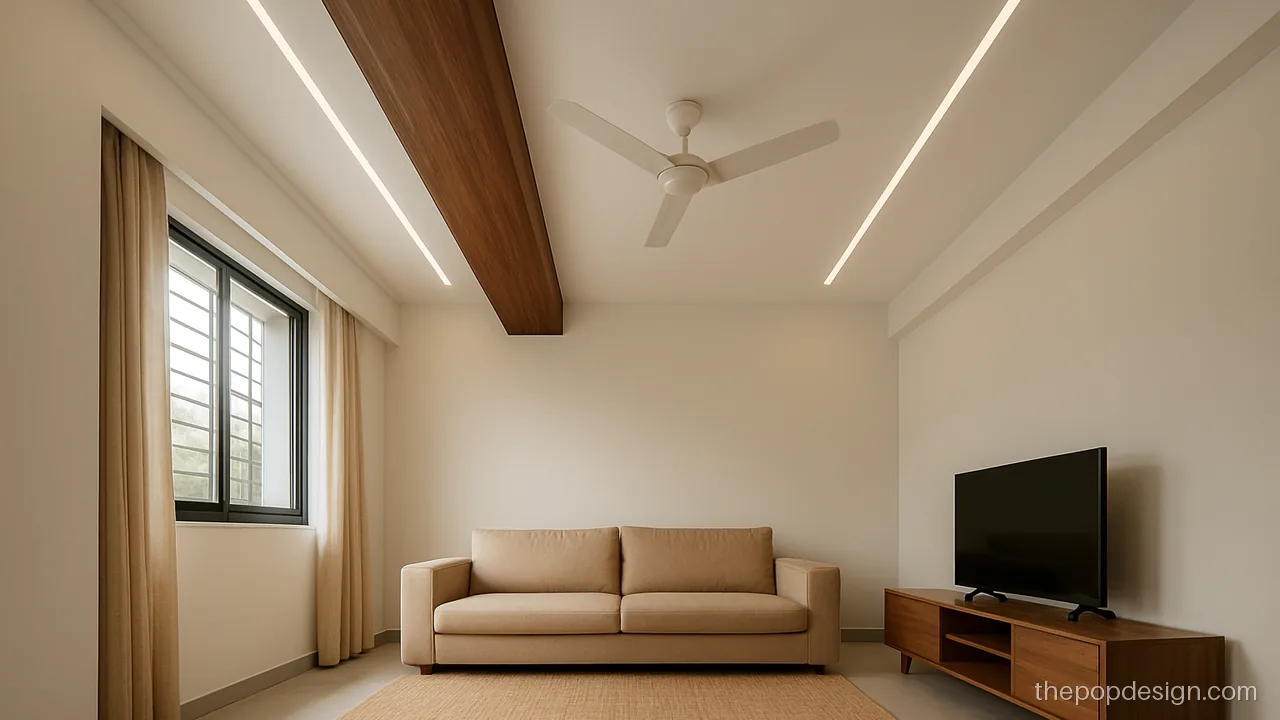
The beam is kept visible and wrapped in wood laminate. White POP on both sides makes the wood stand out.
Contractor tip: Fix the wood wrap on a frame around the beam. Run profile lines parallel to the beam on both sides.
POP Ceiling Design with Cove Light
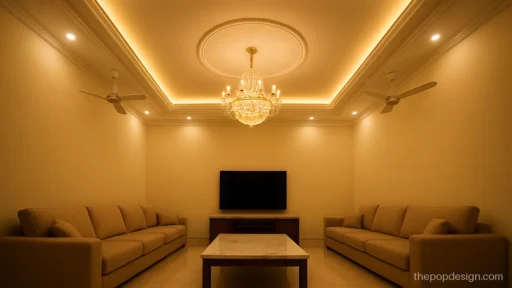
Cove light bounces off the slab and fills the room with soft glow. It is the most common lighting choice for a pop design for ceiling work in homes.
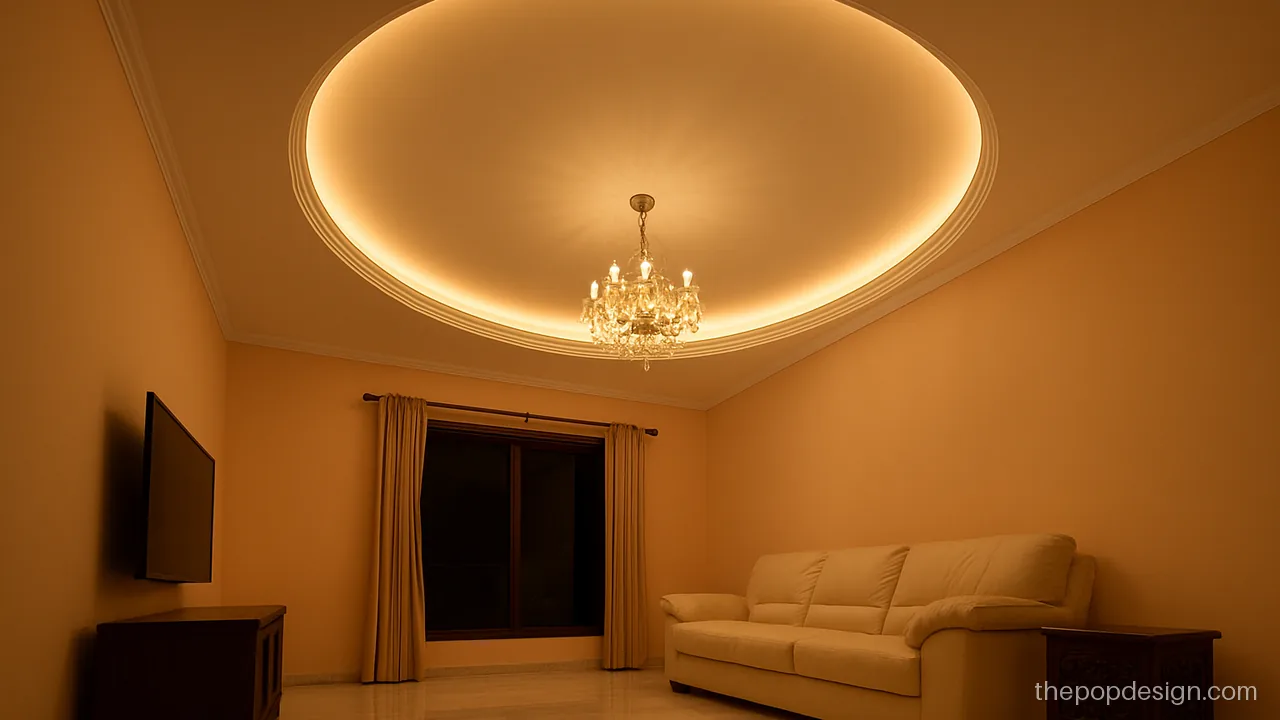
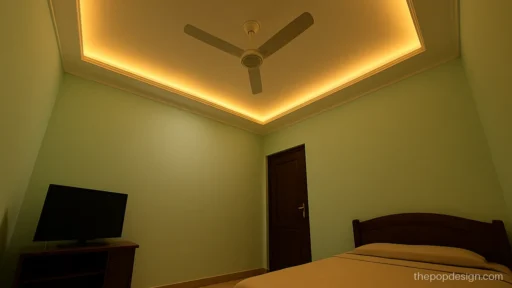
An oval cove softens a square room and makes the ceiling look higher at night. It looks best with warm light.
Contractor tip: Use a bent channel for the oval curve. Keep the cove lip 4 inches high so strips do not show.
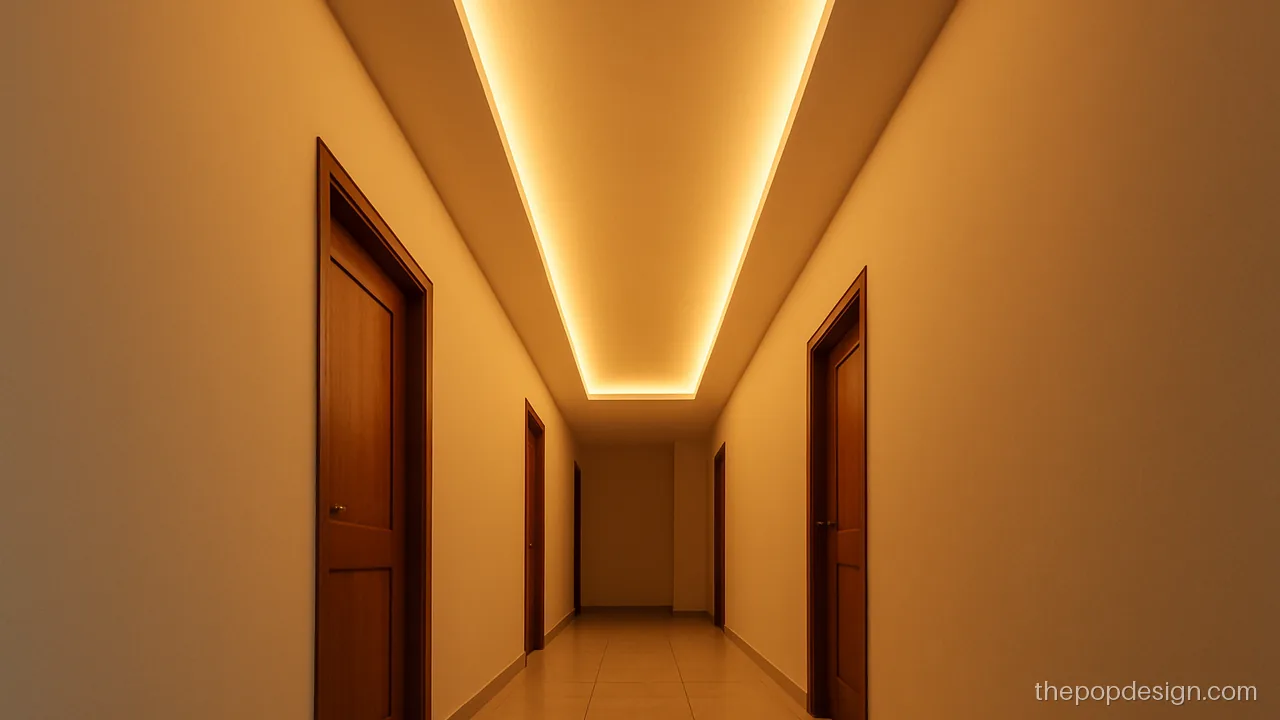
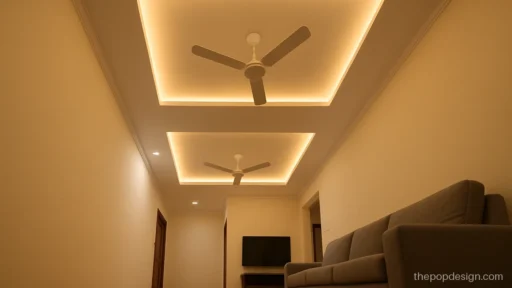
In a long gallery, a cove on both sides lights the whole run evenly. No hanging lights are needed.
Contractor tip: Keep the drop small at 4 inches. Fix LED drivers where a panel can open later for repair.
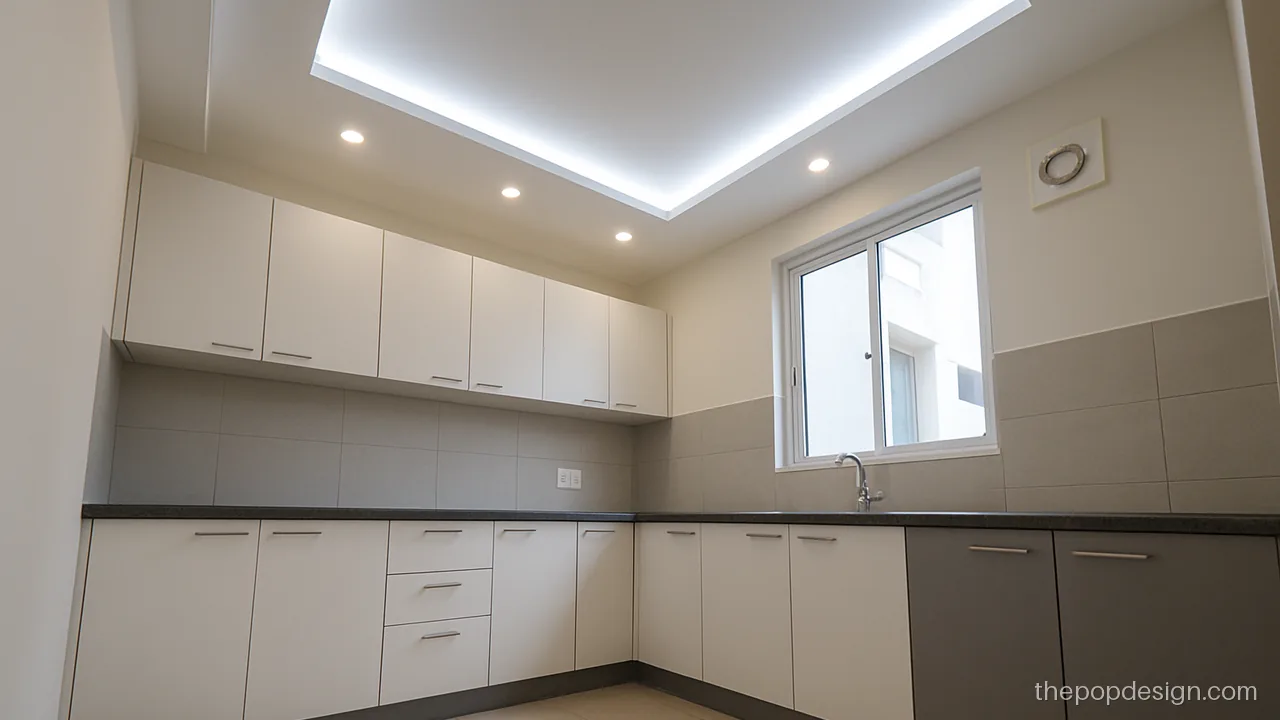
Cool white cove keeps a kitchen bright for cooking. Pair it with a few spots over the counter.
Contractor tip: Use moisture-resistant board near the hob. Keep POP 2 feet away from the chimney duct.
POP Ceiling Design for Low Height Rooms
When the slab is below 9.5 ft, every inch counts. These ideas keep the drop small and still look finished.
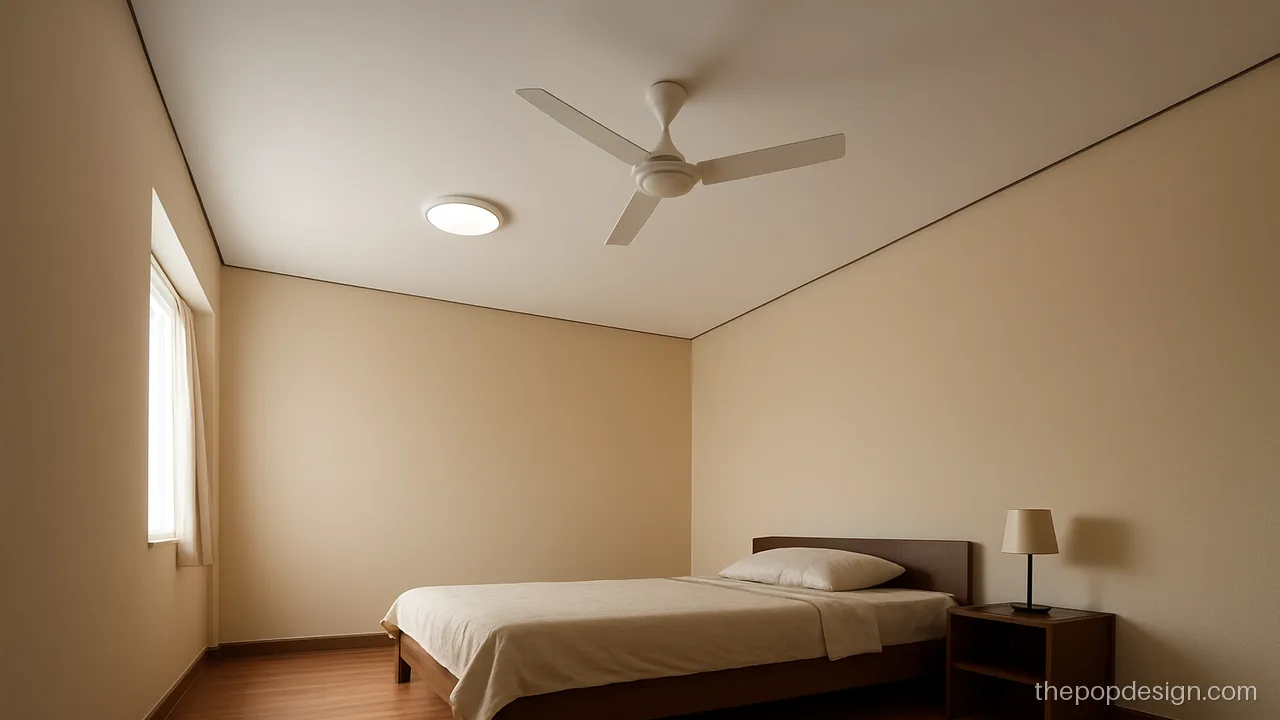
A shadow gap at the wall joint makes the ceiling look like it floats. It adds no drop at all.
Contractor tip: Cut a clean 1 inch shadow gap at the wall line. Paint the gap a shade darker than the ceiling.
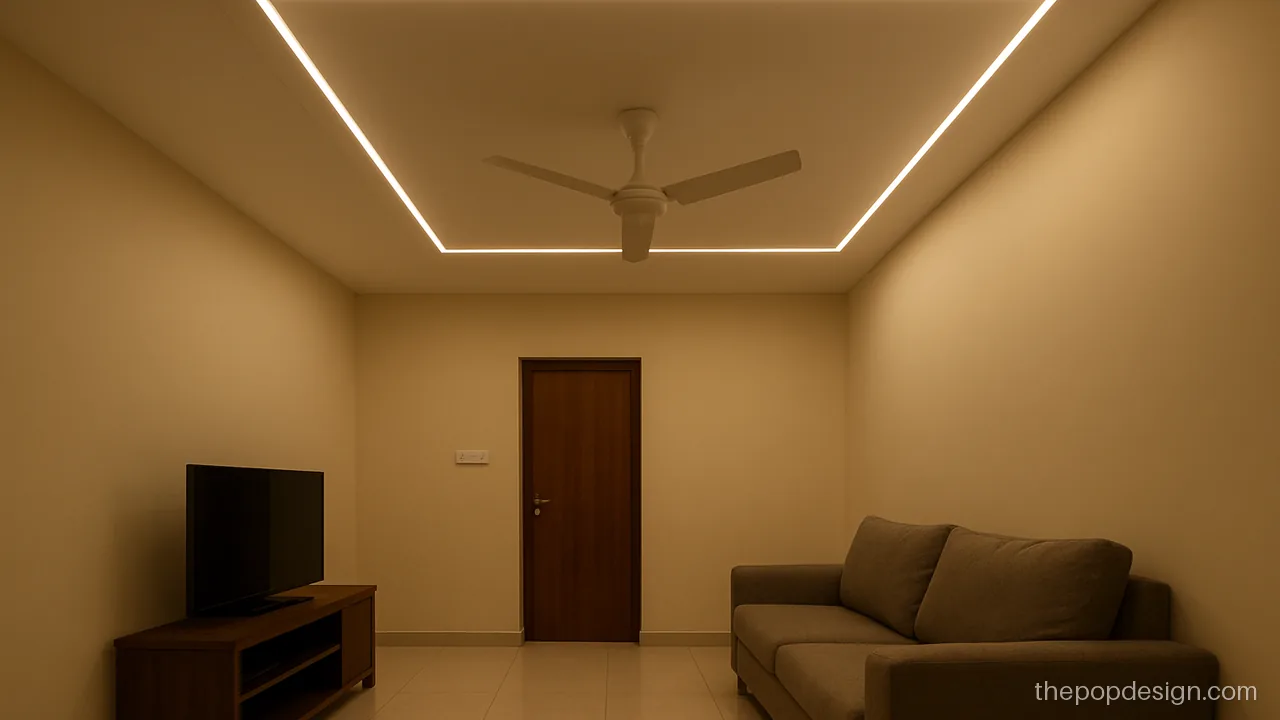
A rectangle of slim profile lights frames the room with only 2 inches of drop. It works well in small flats.
Contractor tip: Use surface channels with only 2 inches depth. Keep the frame 2 feet in from all walls.
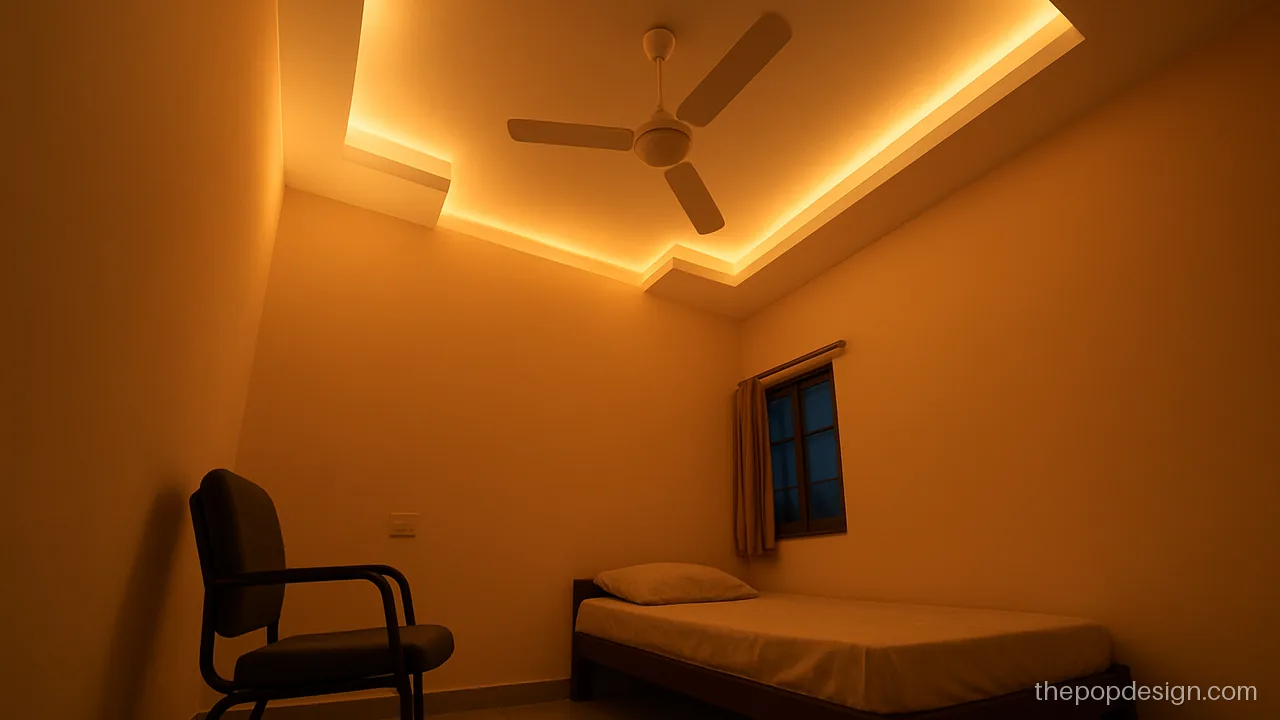
Short cove strips only at the corners give a soft glow without a full border. It saves cost and height.
Contractor tip: Build corner boxes no deeper than 4 inches. Keep the centre slab untouched for full head room.
Choosing a Ceiling Pop Design by Height and Use
| Clear height | Suits | Drop to plan |
|---|---|---|
| Under 9.5 ft | Shadow gap, groove lines, slim profile frame | 0 to 3 inches |
| 9.5 to 10.5 ft | Single level, peripheral, half ceiling | 4 to 6 inches |
| Above 10.5 ft | Multi-level, oval cove, beam panels | 6 to 8 inches |
Cove light gives soft glow and needs a lip of about 4 inches. Profile light gives a sharp line and needs less depth. Use warm light in bedrooms and halls, and cool or neutral light in kitchens and study rooms. More on lighting is on the POP profile light design page.
Checks Before You Pay the POP Wala
- Fan and jhumar hooks are fixed in the slab, with the downrod passing through POP.
- GI channels are spaced about 2 feet apart and fixed firmly.
- All board joints have mesh tape before punning.
- Level lines are straight when checked with a water level or laser.
- The ceiling has dried for about a week or more before primer.
Hairline cracks usually come at joints or from drying too fast. Fill them after full drying, then repaint. For rooms with two fans, see 2 fan POP design.
Ceiling Design Without POP
When you ask for ceiling design POP walas often suggest heavy layers, but you can say no. Some readers want a clean look with no false ceiling at all. A room without POP ceiling design work stays at full height and costs less. You can still add a moulding edge, groove lines or a surface panel light. Gypsum board and PVC are other options; compare them on the PVC and gypsum POP design page.
POP design questions
Which POP ceiling design is best for a 10 ft room?
A single level or peripheral design with a warm cove works best. Keep the drop between 4 and 6 inches. Multi-level designs will make a 10 ft room feel lower.
Can I get a ceiling design without POP?
Yes. Keep the slab plain and add a thin moulding, a shadow gap or groove lines. Gypsum board or PVC panels are other choices if you still want a false ceiling.
How do I hide a beam with a ceiling pop design?
Either box the beam and make panels on both sides, or drop the full ceiling to beam level. The second option needs at least 9 ft of clear height left after the drop.
Can a fan hang from a POP ceiling?
No. The fan must hang from a hook fixed in the concrete slab. The downrod passes through a hole in the POP, so the POP carries no weight.
How is the cost of a pop design for ceiling worked out?
It is area times the rate for that design type, plus extras like cove strips, profile lights, beam boxing and paint. More levels and curves cost more. See the price guide for details.
How long should POP dry before painting?
Usually about a week or more, depending on weather. In the monsoon it can take longer. Paint too early and you may see patches and cracks.