Bedroom POP Design: Ceiling and Wall Ideas for Every Size
- 24 designs
- By room
- Updated 07 Oct 2026
This bedroom POP design gallery has 24 original ceiling and wall ideas for real Indian bedrooms, from a small 10 x 10 room to a big master bedroom. Every POP design photo here comes with room size, light plan, budget level and a note for the POP wala.
A bedroom is for rest, so the best POP design for bedroom ceilings is calm, not crowded. Soft cove light, a fan right above the bed and clean lines matter more than many layers. Pick the right POP design bedroom by bedroom: simple for kids and guests, a little richer for the master room.
Planning other rooms too? See our hall POP designs, kitchen ceilings and the room size guide.
Simple POP Design for Bedroom
These simple bedroom ceilings use one border and soft light. They are quick to finish, easy to keep clean and kind on the budget.
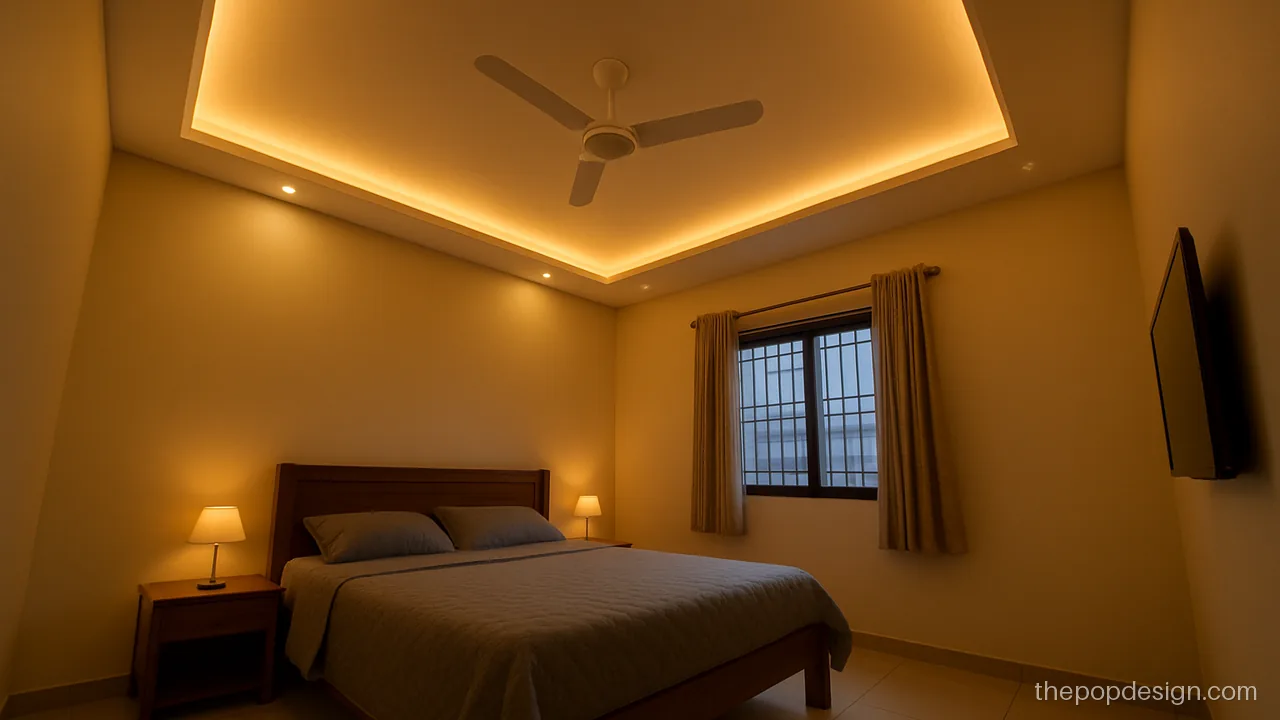
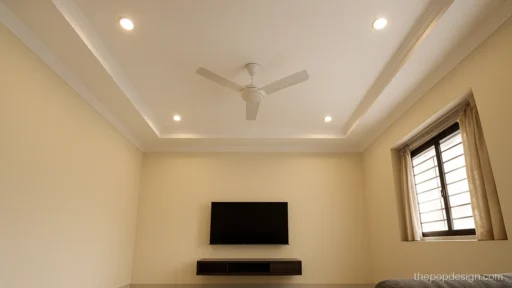
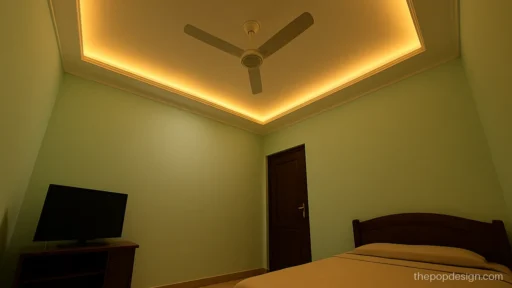
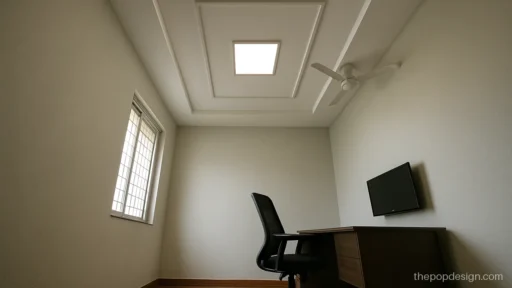
One clean step around the edge keeps the centre of the chhat high. It suits a regular 10 x 12 bedroom with a normal slab height.
Contractor tip: Keep the border 2 ft wide and the drop near 5 inches. Fix the fan hook before the frame goes up.
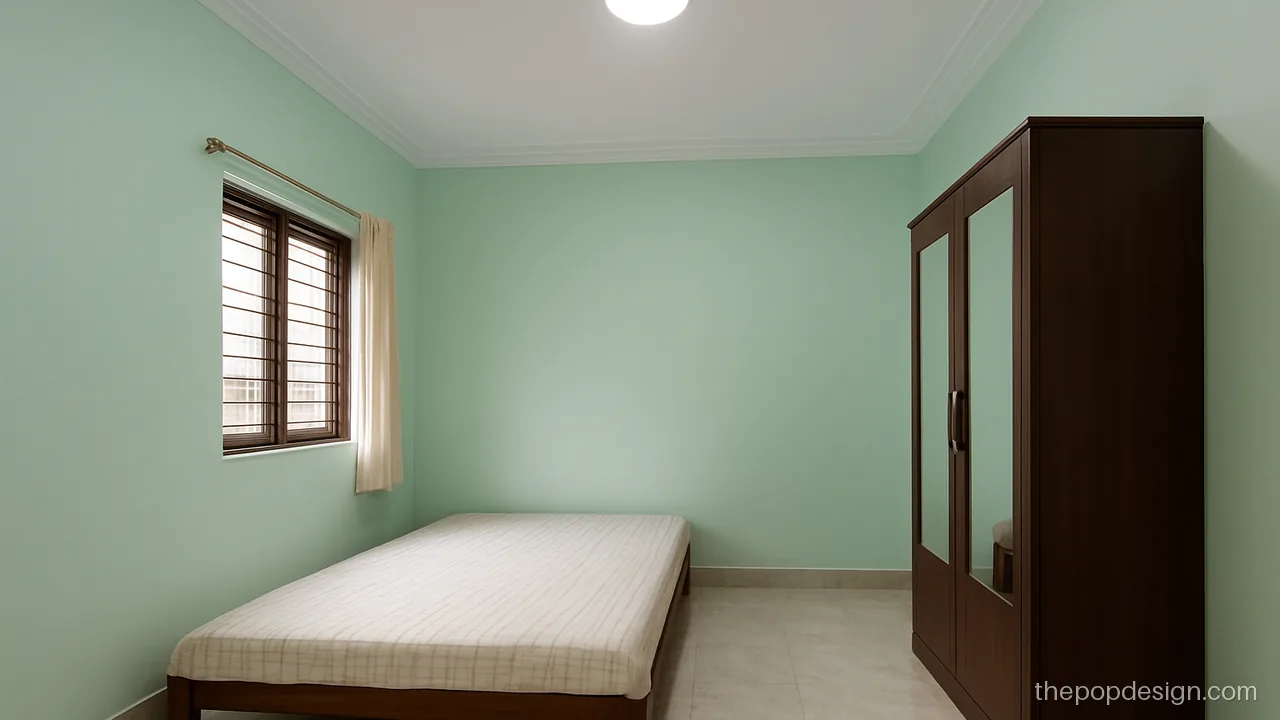
There is no drop at all here, just a thin moulding line a foot from the wall. Good for a low chhat where every inch counts.
Contractor tip: No frame needed. Ask the mistri to fix moulding with POP and check the line with a thread.
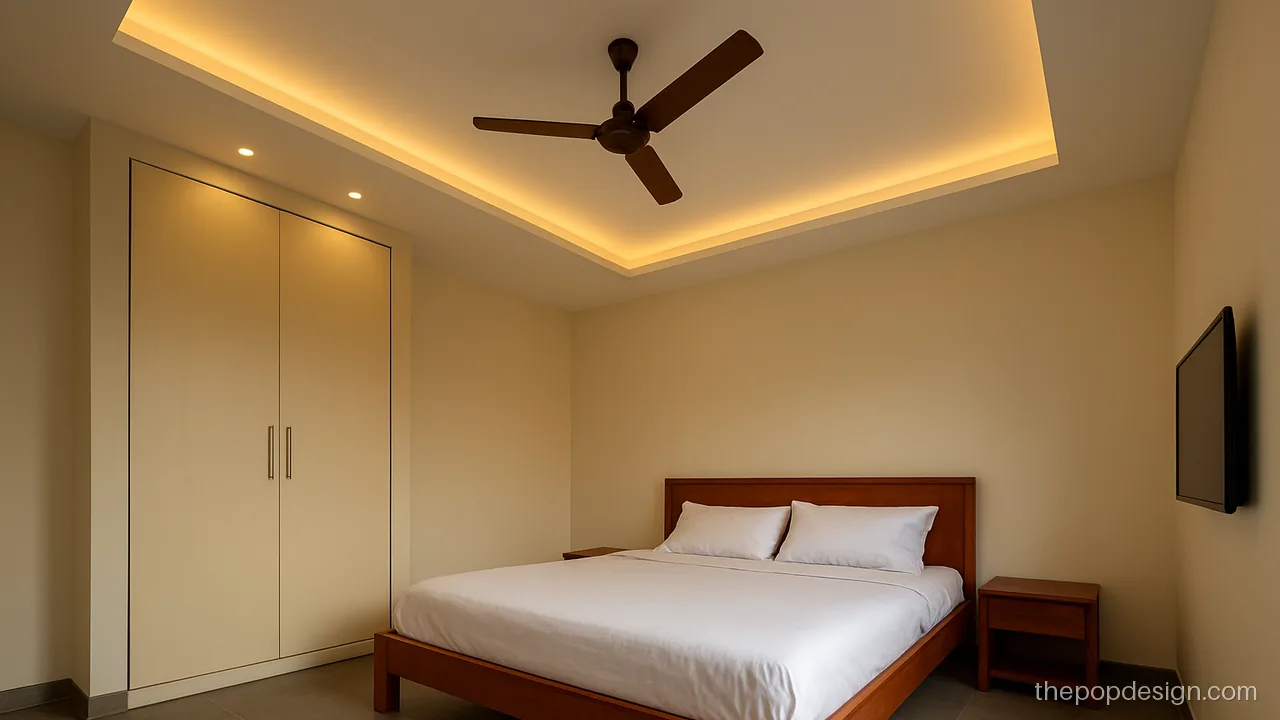
An L shaped band covers two walls only, so the room feels bigger. The wardrobe side gets light where you need it.
Contractor tip: Mark the L on the slab first. Keep the band clear of the wardrobe shutter swing and the AC pipe.
Bedroom Modern POP Plus Minus Design
Plus minus means some boxes come down and some go up into the slab gap. Use it when the chhat is 10 ft or higher.
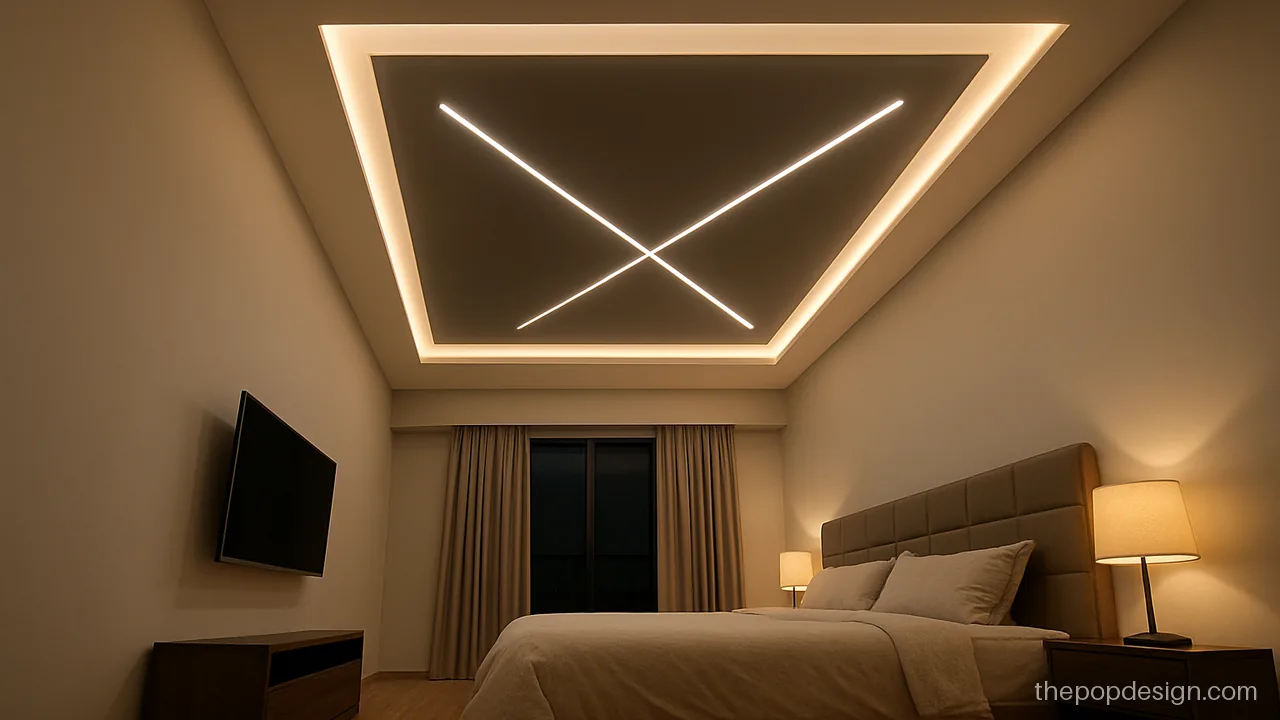
A recessed grey box over the bed sits inside a white raised frame. The two levels add depth without heavy work.
Contractor tip: Ask for a 6 inch drop at the frame and a 2 inch recess. Paint the grey box before the white.
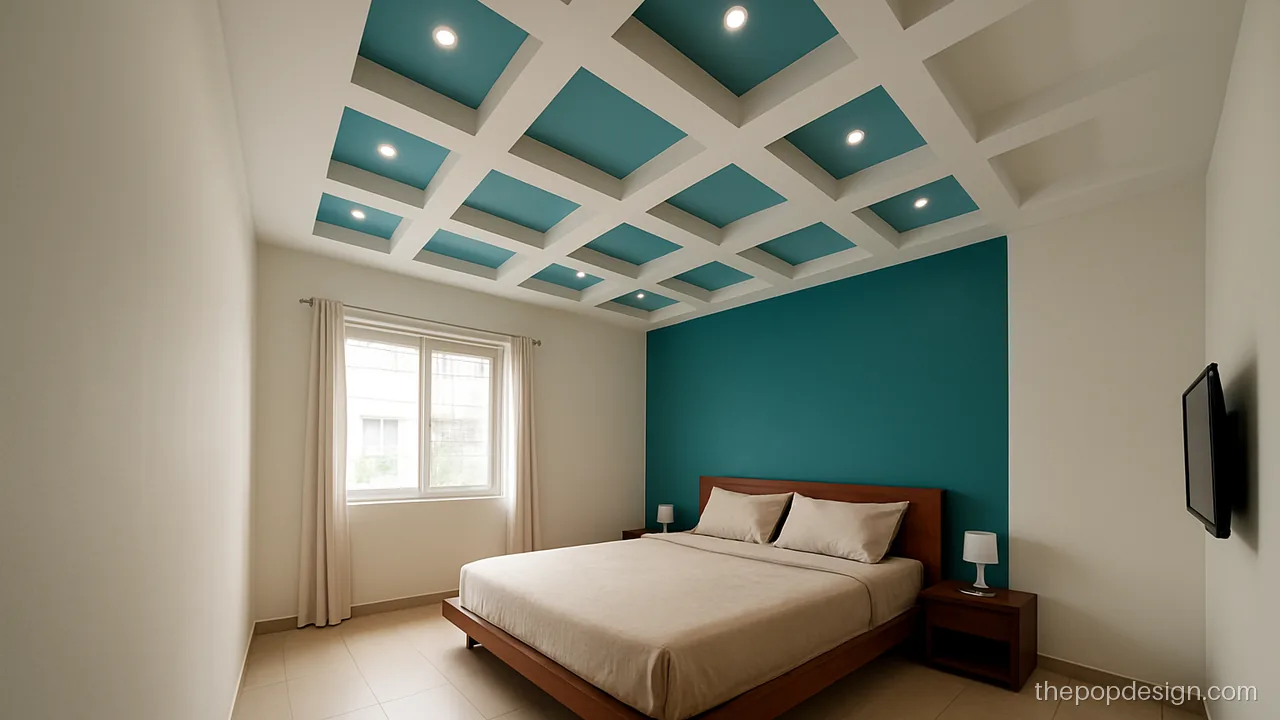
This bedroom plus minus POP design with colour uses teal in the low strips only. The colour shows but does not shout.
Contractor tip: Tape colour edges before painting. Ask for the teal in matt finish so marks and patches hide.
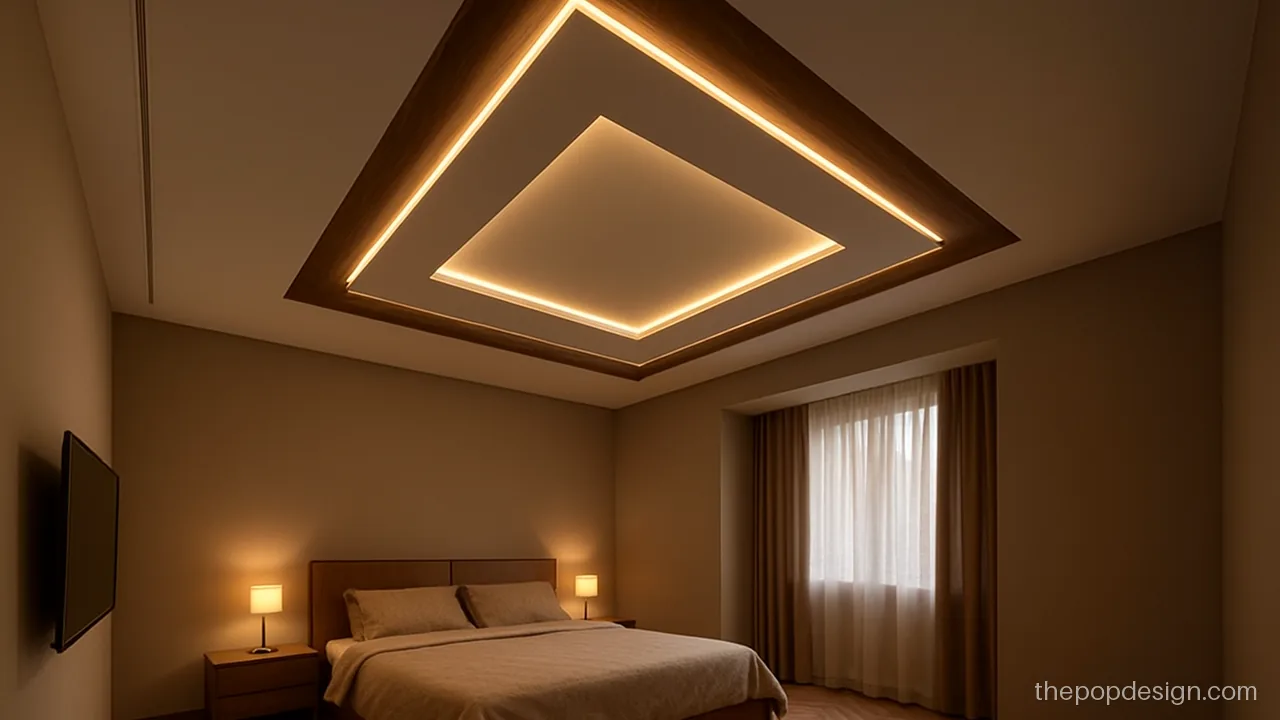
Two offset rectangles overlap at one corner, with a wood finish strip on the step. It looks new and stays easy to dust.
Contractor tip: Check that both rectangles are level with a water tube. Fix wood strip only after POP fully dries.
Master Bedroom POP Design
A master bedroom POP design can carry a little more depth and a feature over the bed. Keep the fan and AC in the plan from day one.
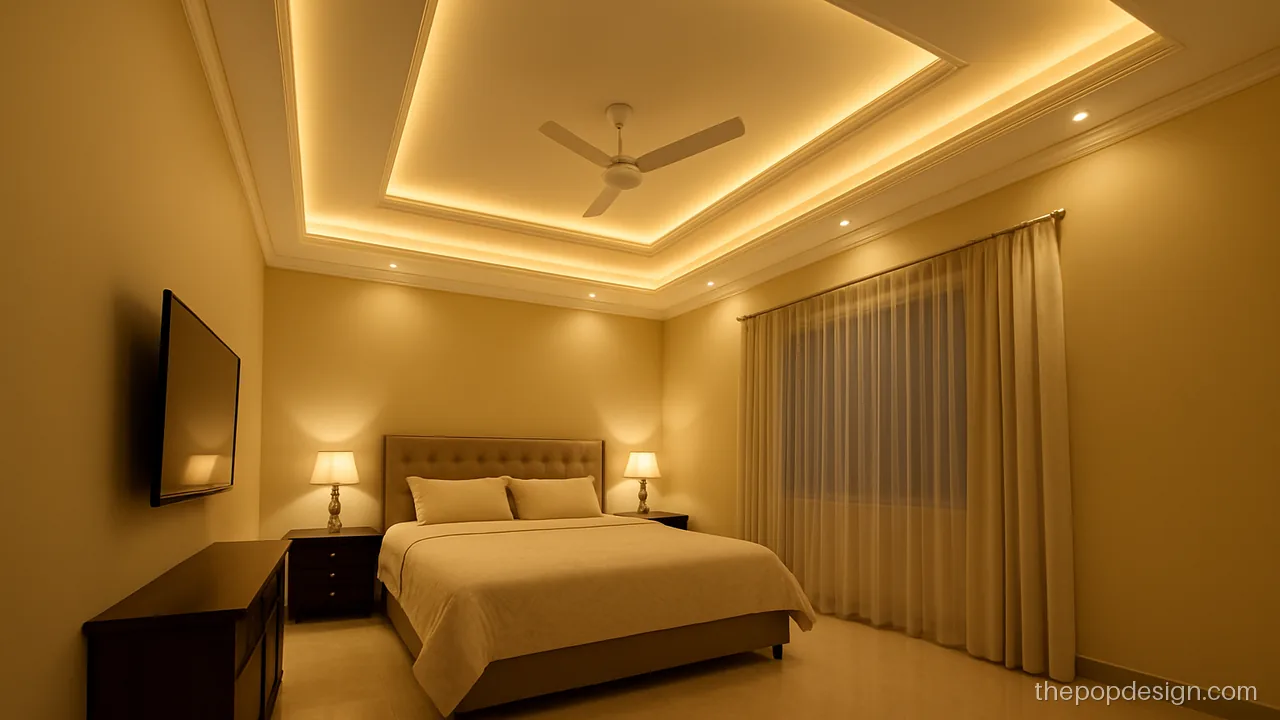
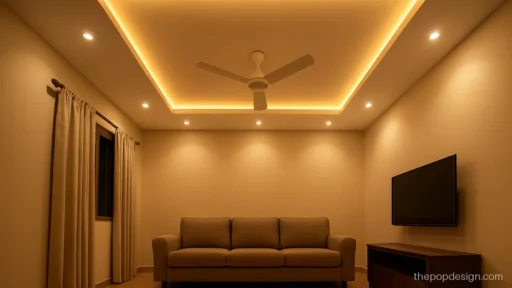
Two steps frame the room and a deep cove washes light onto the ceiling.
Contractor tip: Each step needs about 3 inches. Keep the cove opening 4 inches so the LED strip is easy to replace.
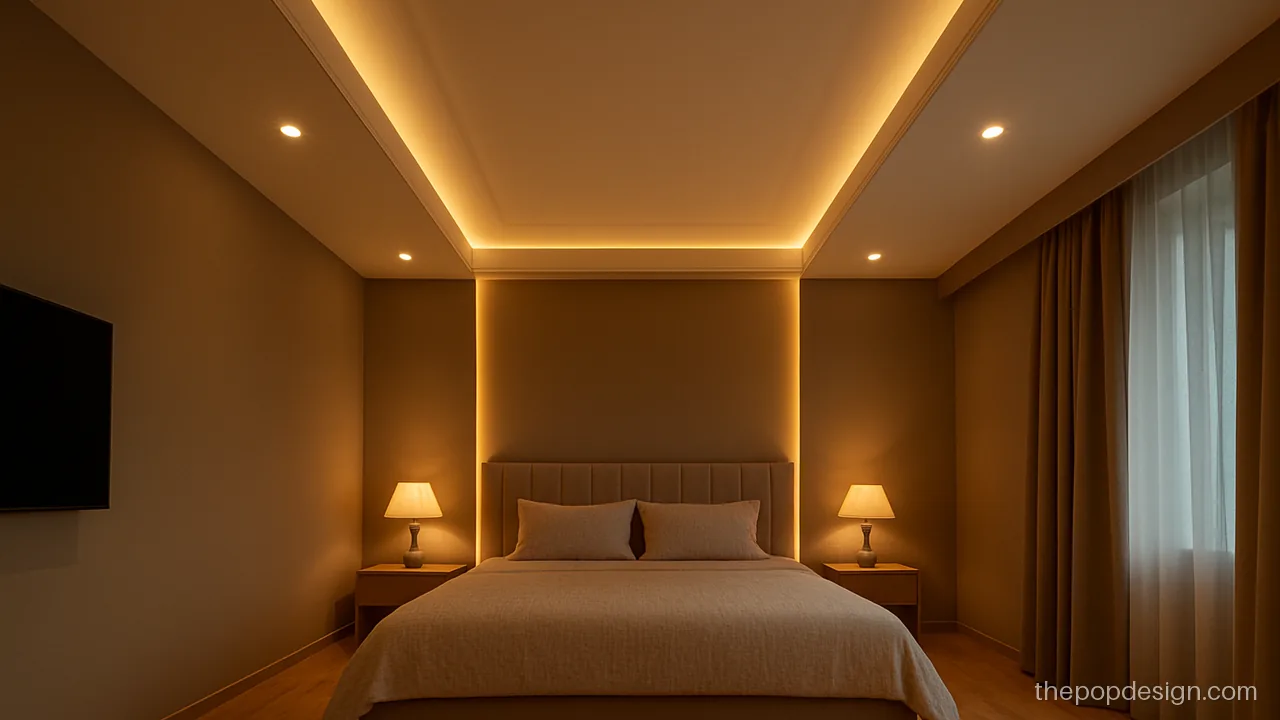
The panel climbs the wall behind the bed and folds onto the ceiling. It ties the bed and ceiling together in one line.
Contractor tip: Fix the wall panel and ceiling panel on one frame so the bend does not crack later.
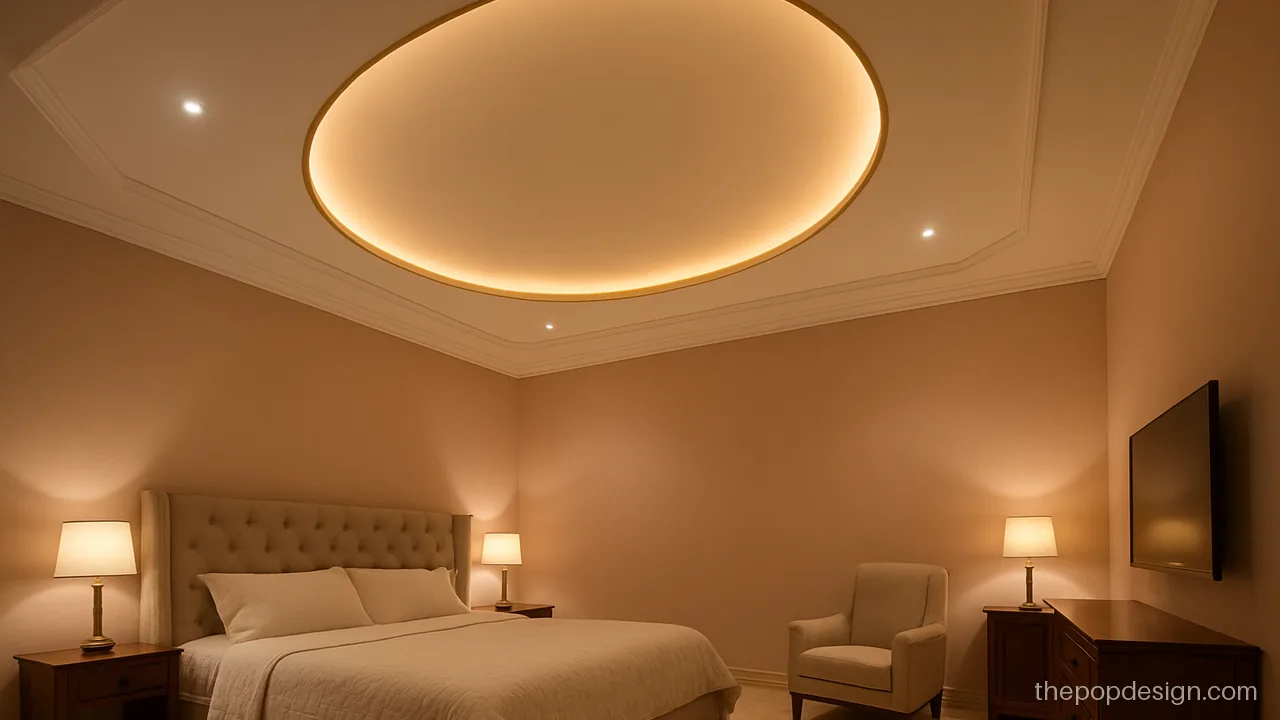
An oval recess softens a square room and the thin gold line adds a touch of shine. Use it only once in the house.
Contractor tip: Make the oval with a plywood template. Gold paint only on the line, not on the whole edge.
Small Bedroom POP Design and POP Design for Bedroom 10x12
For a 10 x 10 or 10 x 12 room, keep the design to the edges. A thin border with light keeps the room open and airy.
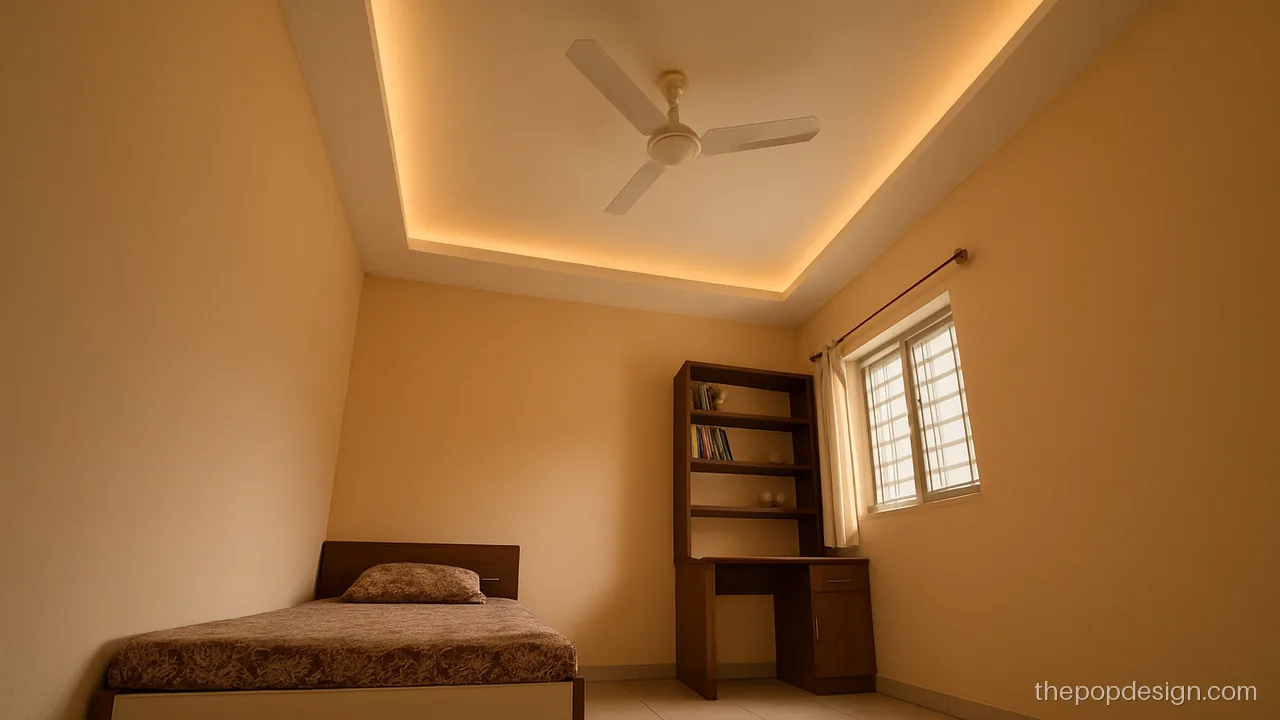
Only a 15 inch border comes down, so the room still feels tall. This simple small bedroom POP design suits flats with 9 ft slabs.
Contractor tip: Keep the drop at 4 inches or less. Ask for the cove facing up, not out, to avoid glare.
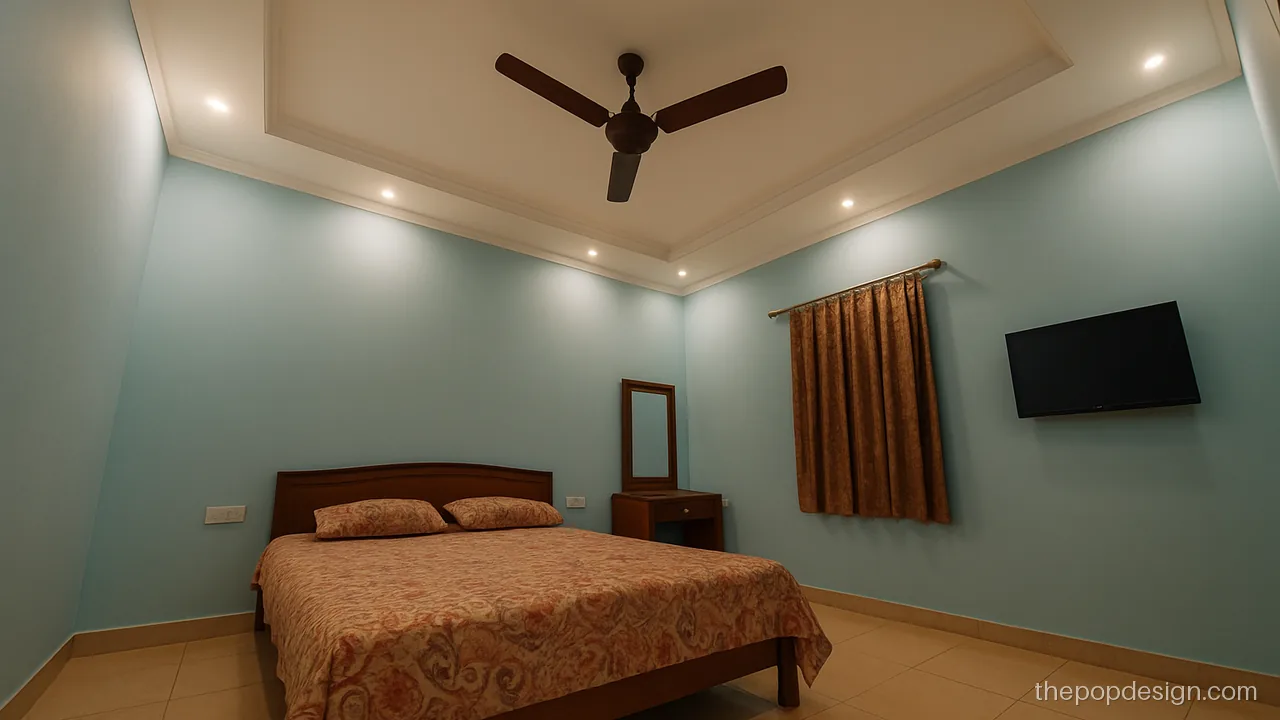
This POP design for bedroom 10x12 with fan keeps the pankha in the middle of a clean rectangle. Nothing hangs near the blades.
Contractor tip: Centre the fan hook on the bed, not the room, if the bed sits off centre. Leave blade clearance.
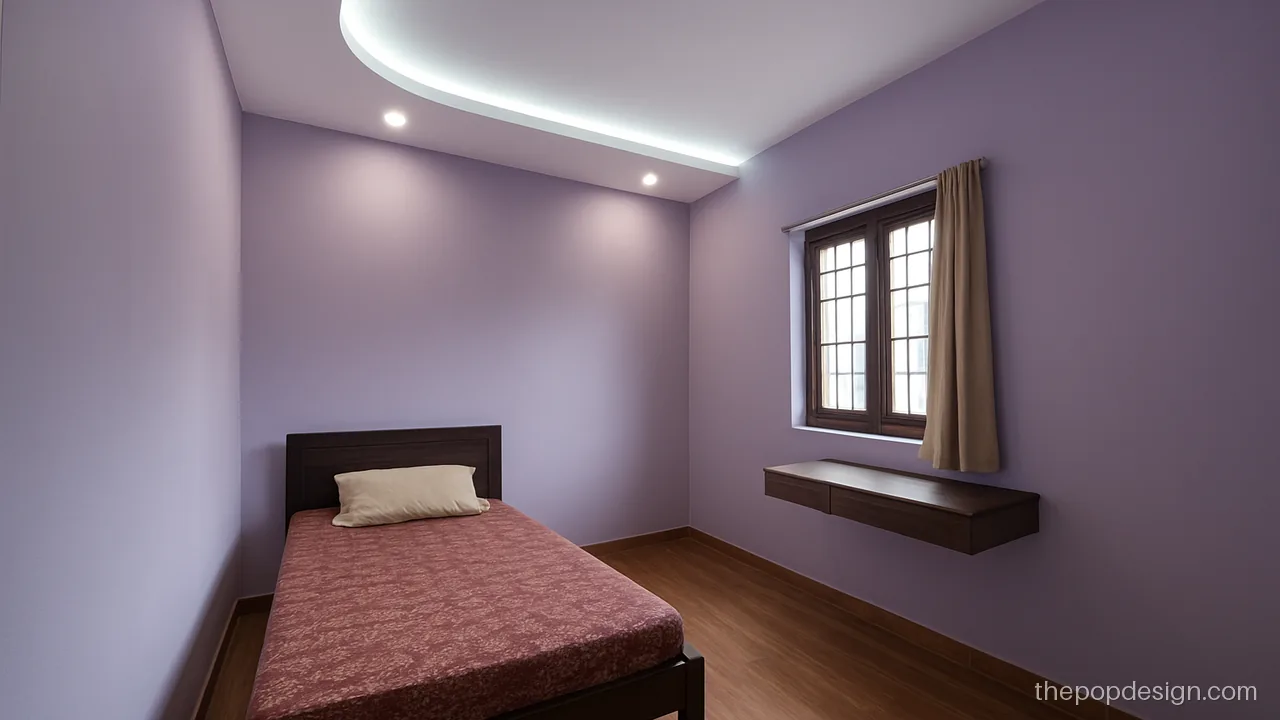
Curved corners on the window side soften a tight room. The other two walls stay clean, so cost stays low.
Contractor tip: Use a template for each curve so all corners match. Check curing before the putty coat.
Luxury POP Design for Bedroom
Royal style ceilings use layers, medallions and warm light. They need more height, more time and a careful mistri.
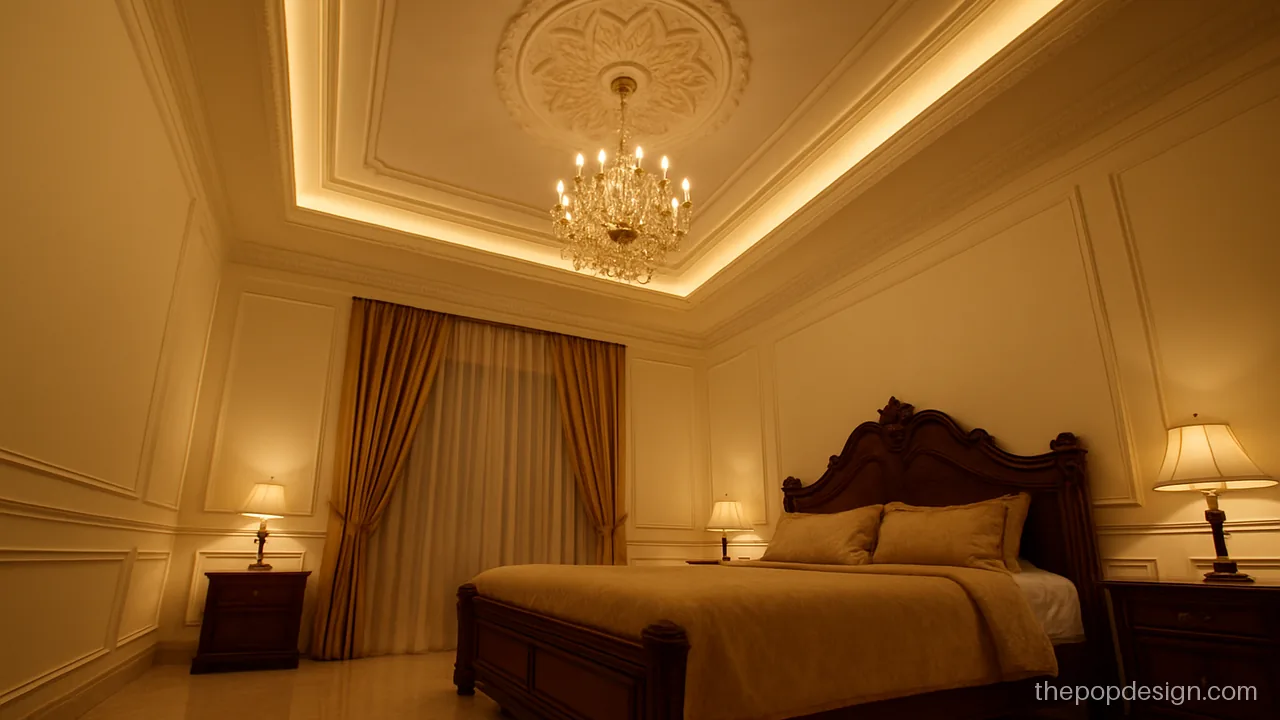
Classic crown moulding and a carved flower medallion give a palace feel. Keep the walls plain.
Contractor tip: Medallion must be fixed with screws to the frame, and the jhumar hook must go into the slab.
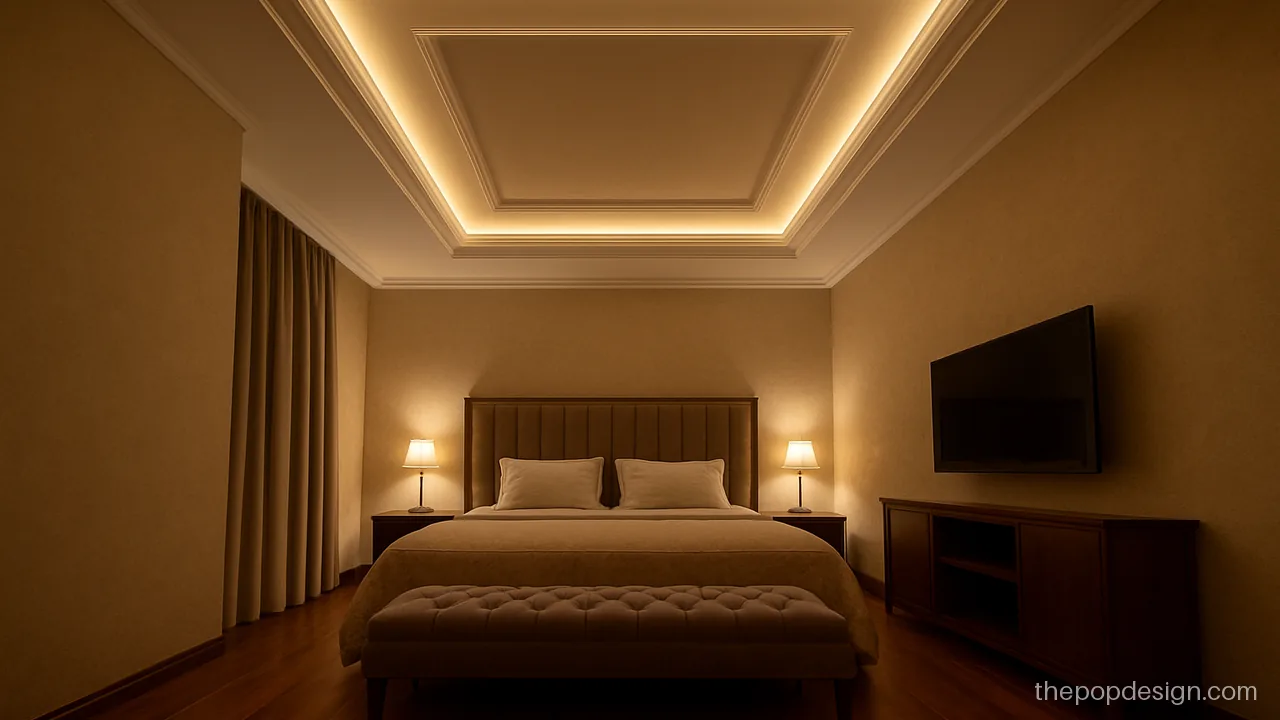
Three shallow layers step up to the centre, with a champagne band on the middle layer. Best for a 10.5 ft or higher chhat.
Contractor tip: Keep each layer near 2.5 inches so the total drop stays under 8 inches. Ask for one LED driver per layer.
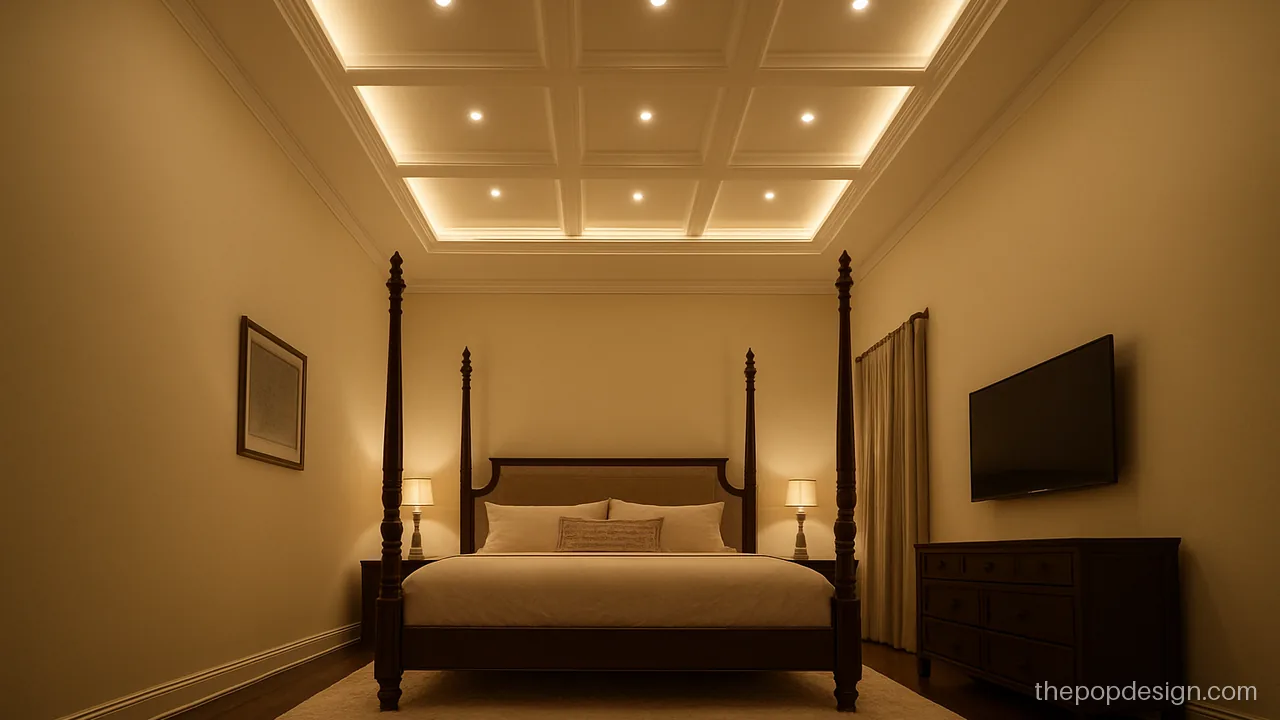
A shallow coffered grid looks rich without dark colours. Each square gets its own small light.
Contractor tip: Mark the grid from the room centre so edge squares are equal. Keep each coffer shallow, near 3 inches deep.
POP Design for Bedroom with Fan
The fan hook must be in the slab and the blades need space. These layouts plan around the pankha first.
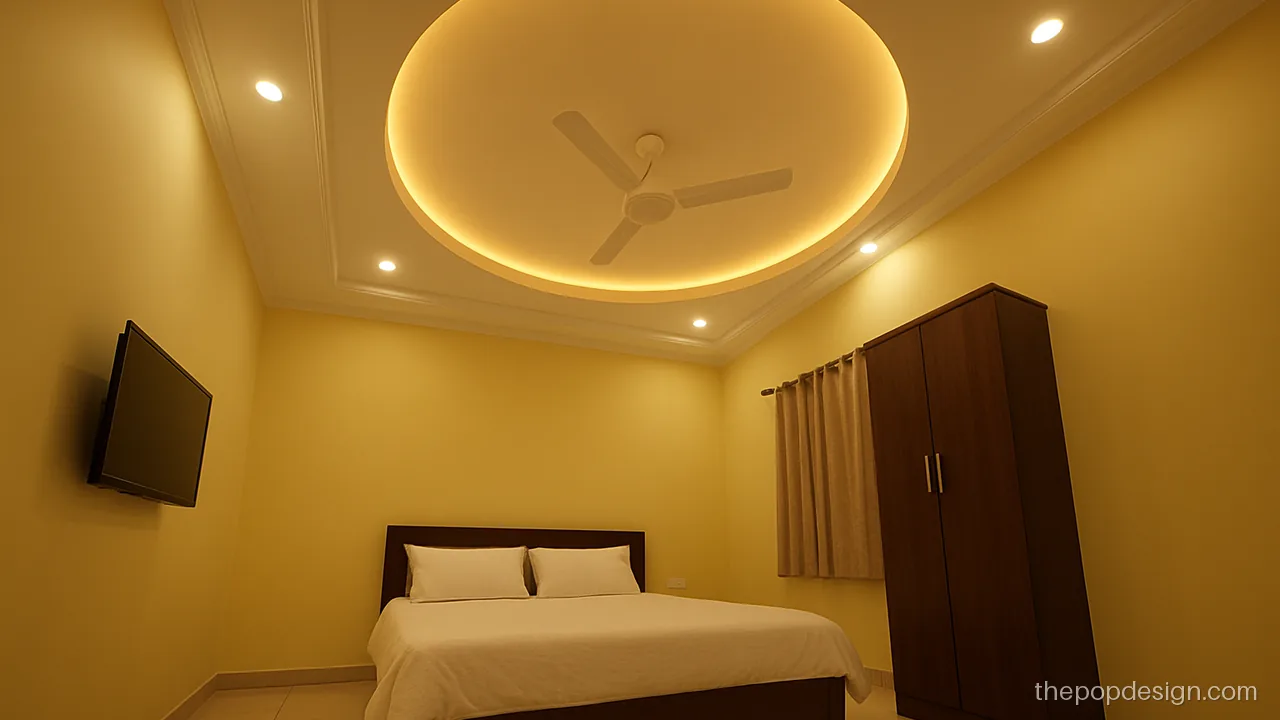
A round recess around the fan makes the pankha the centre of the design. The circle also helps air spread evenly.
Contractor tip: Make the circle at least 5 ft across for a 4 ft fan. Downrod must pass through the POP to the slab.
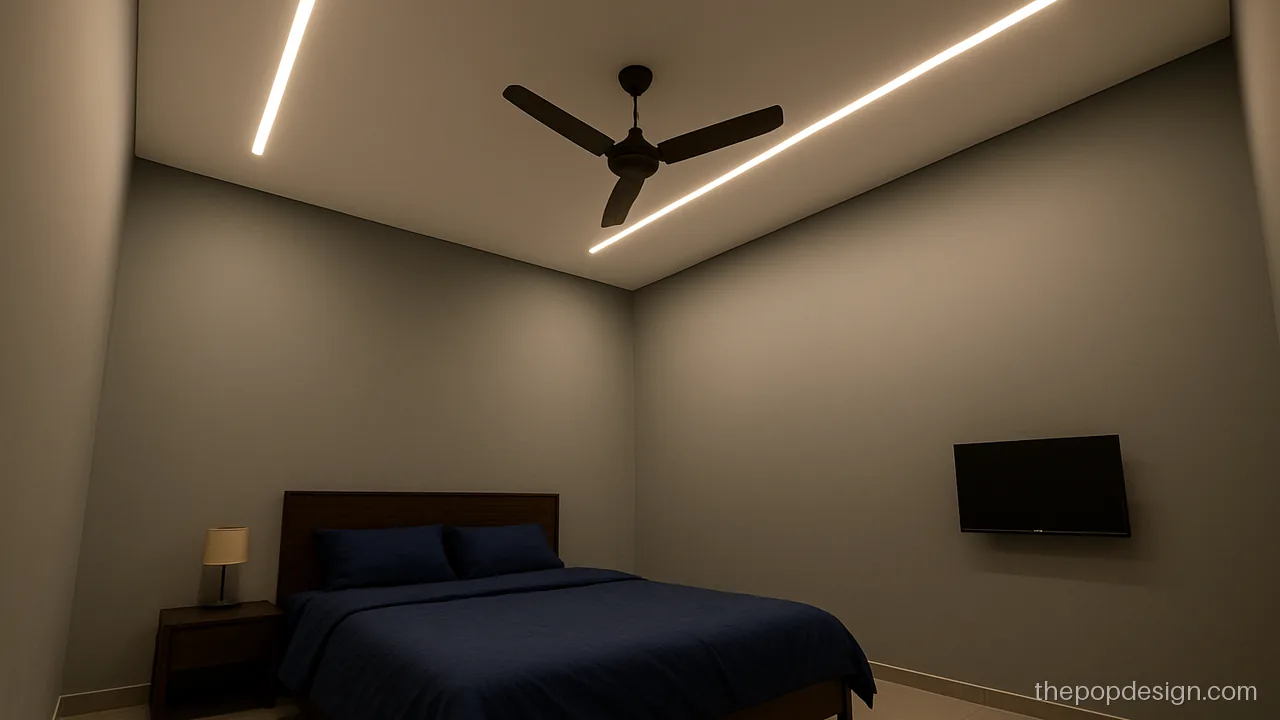
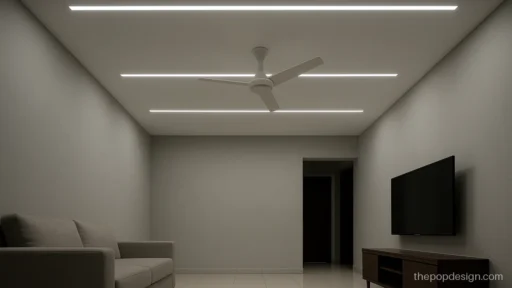
Two parallel profile lines run past the fan on both sides. They give light without any drop in the middle.
Contractor tip: Keep profile lines at least 1 ft from the blade tips so the light does not flicker through the blades.
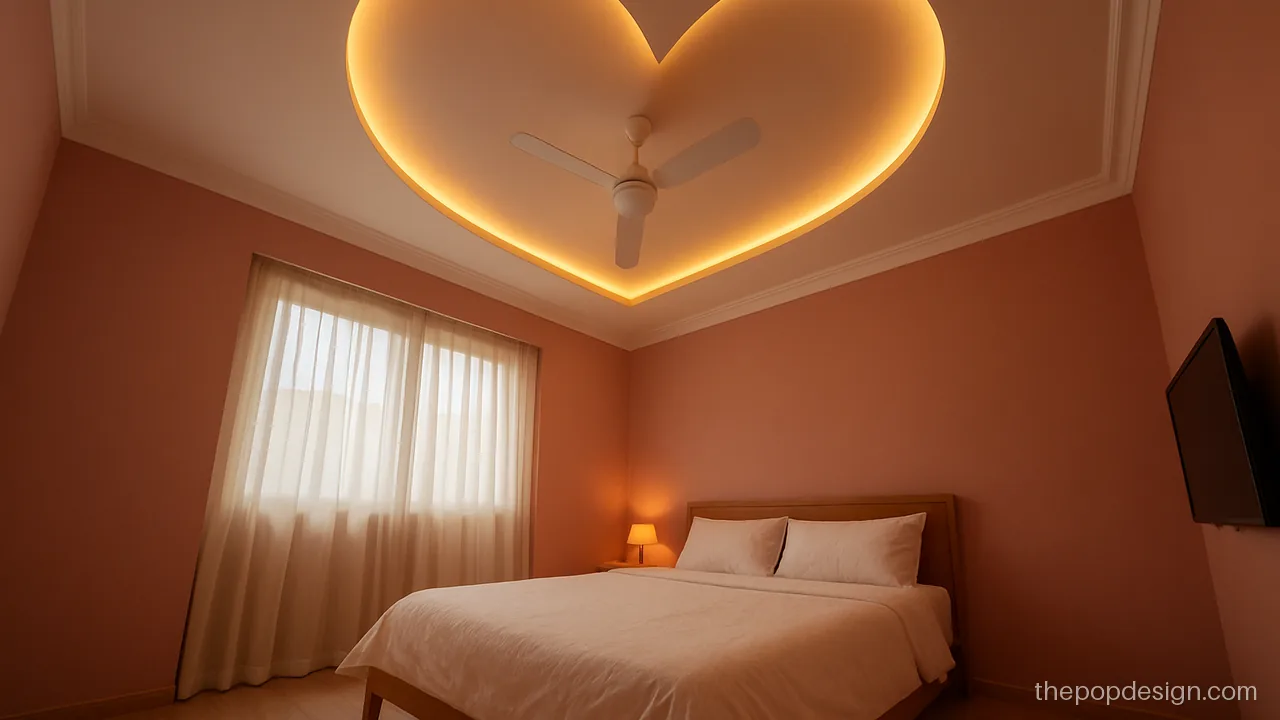
A soft heart shaped recess is popular in a couple's room. Keep the heart large and smooth so it does not look childish.
Contractor tip: Draw the heart on the slab first and check it from the bed. Fan hook sits at the heart centre.
Kids Room POP Design
Kids rooms do well with soft shapes and bright but washable colour. Avoid sharp hanging parts and keep lights glare free.
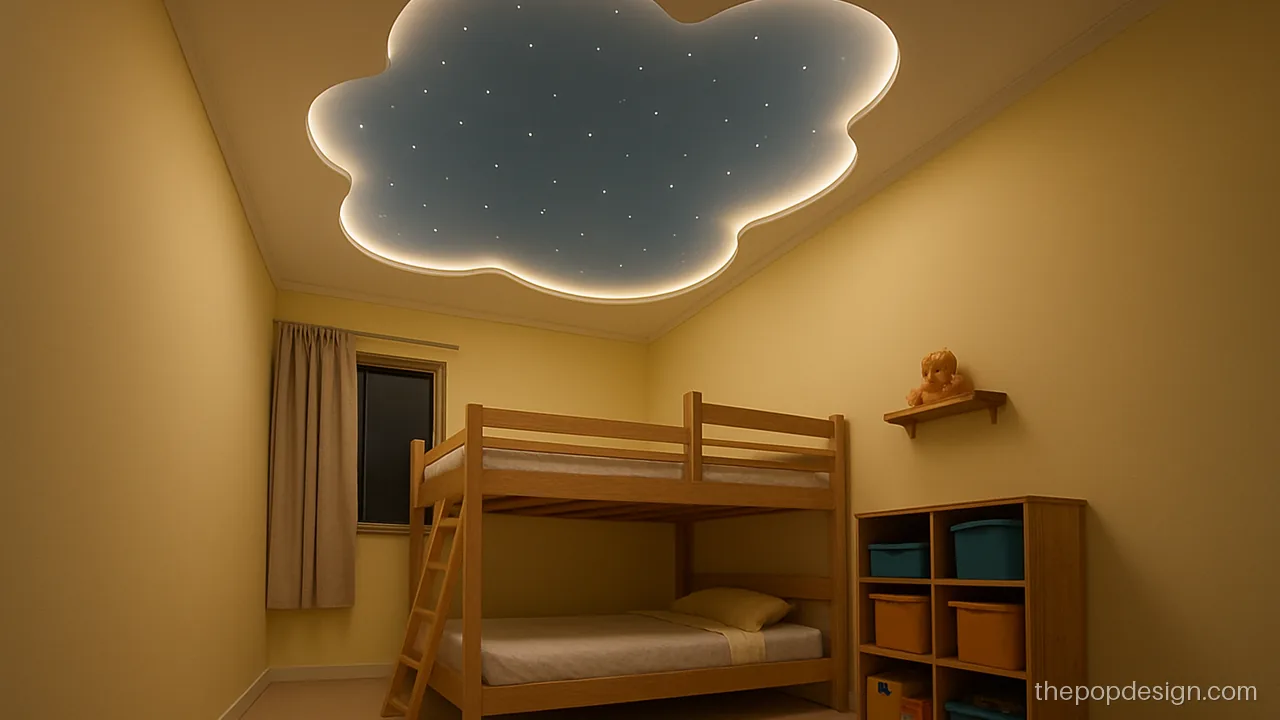
Cloud shaped curves around a sky blue centre feel playful and calm.
Contractor tip: Cut clouds from a template and sand edges well. Use washable paint inside the blue recess.
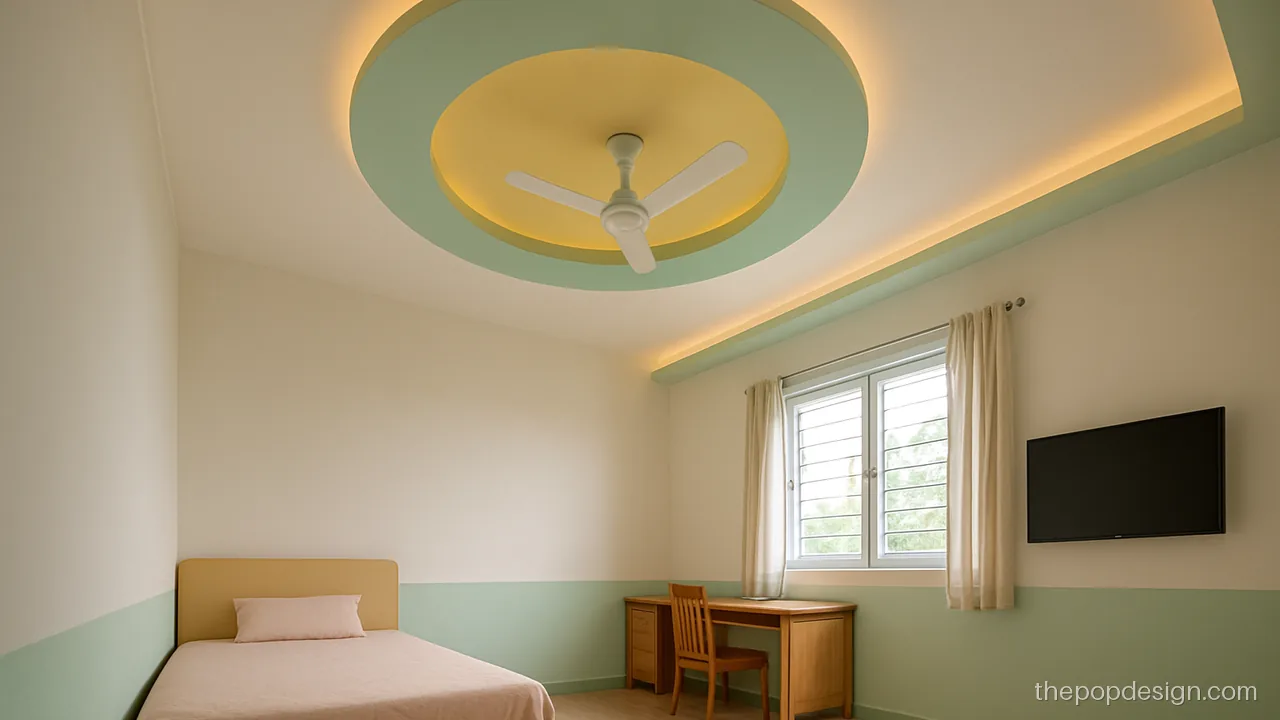
Two overlapping circles in mint and soft yellow bring colour up high, so walls can stay simple.
Contractor tip: Keep circle drops shallow at 3 inches. Tell the painter to mask circles before colour.
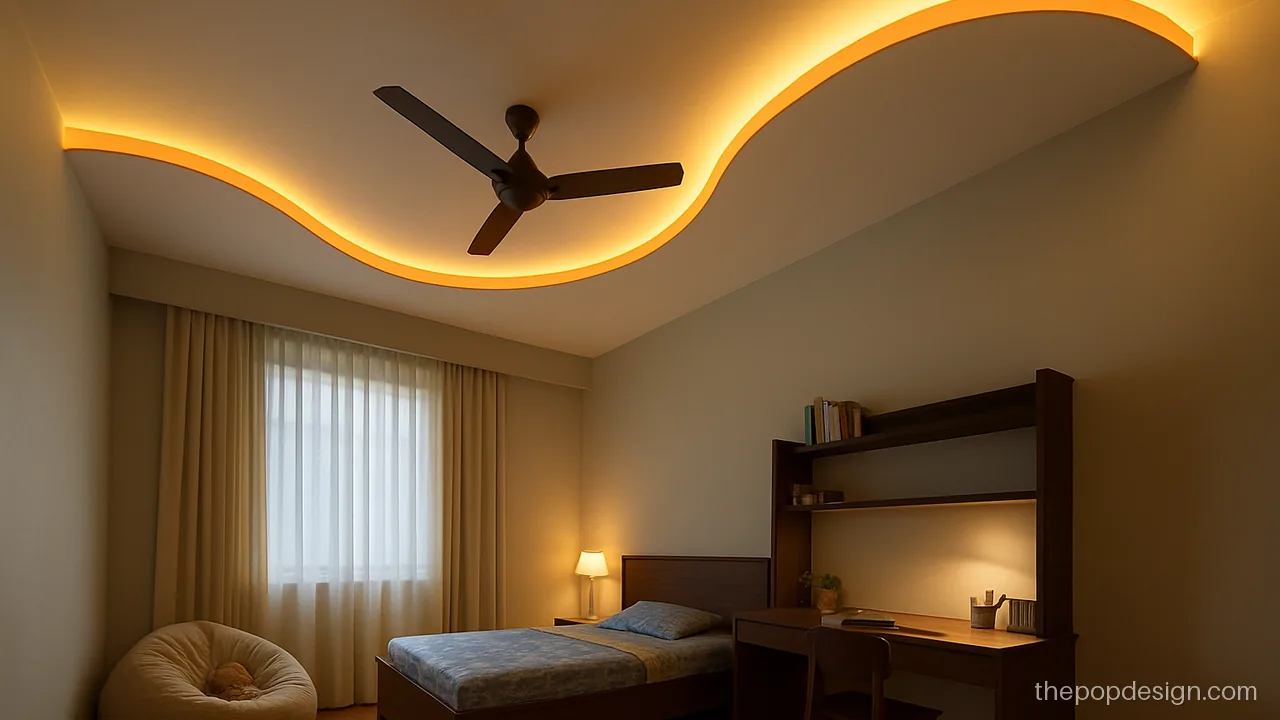
A wavy band crosses the room like a river. The thin orange line gives energy without making the ceiling heavy.
Contractor tip: Ask for a smooth wave with three bends only. More bends cost more and gather dust.
POP Wall Design for Bedroom Behind the Bed
A wall behind the bed is a good spot for POP work. It is at eye level, so finish quality matters more than on the chhat.
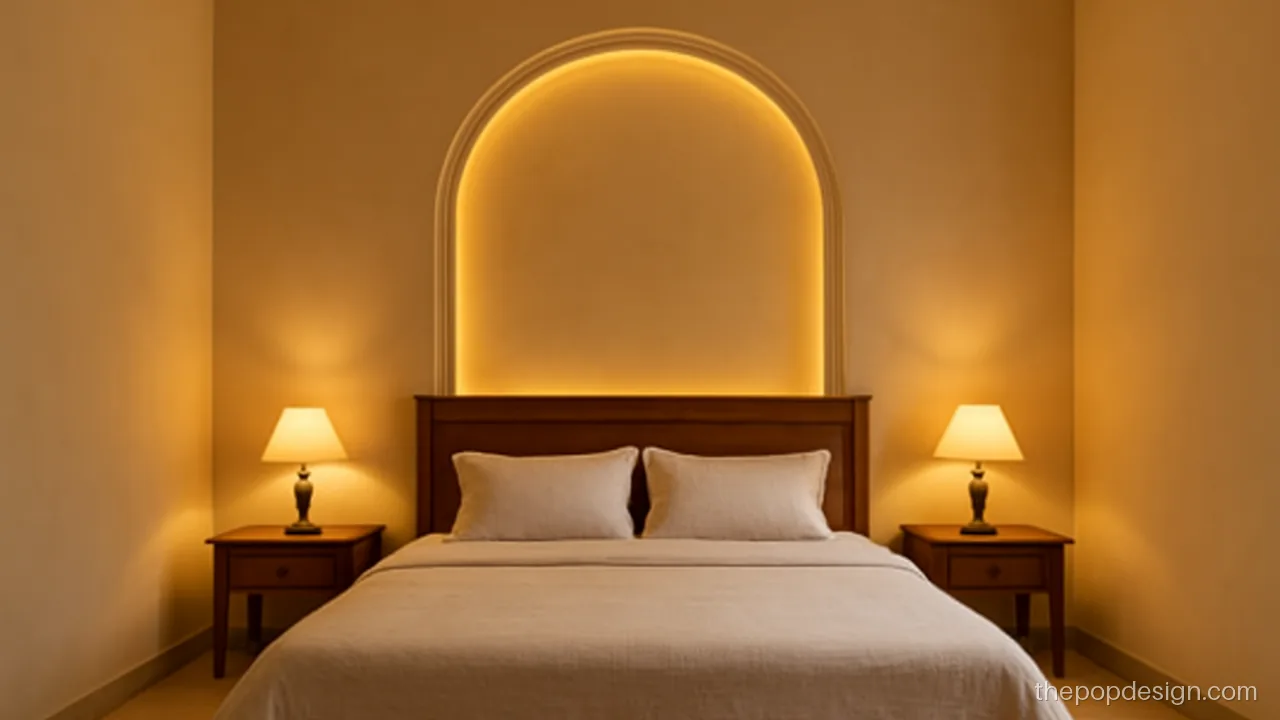
A tall arch niche frames the bed and hides a warm strip light. It works well in a bedroom with a plain ceiling.
Contractor tip: Arch depth 3 to 4 inches is enough. Ask for a wire conduit inside before closing the niche.
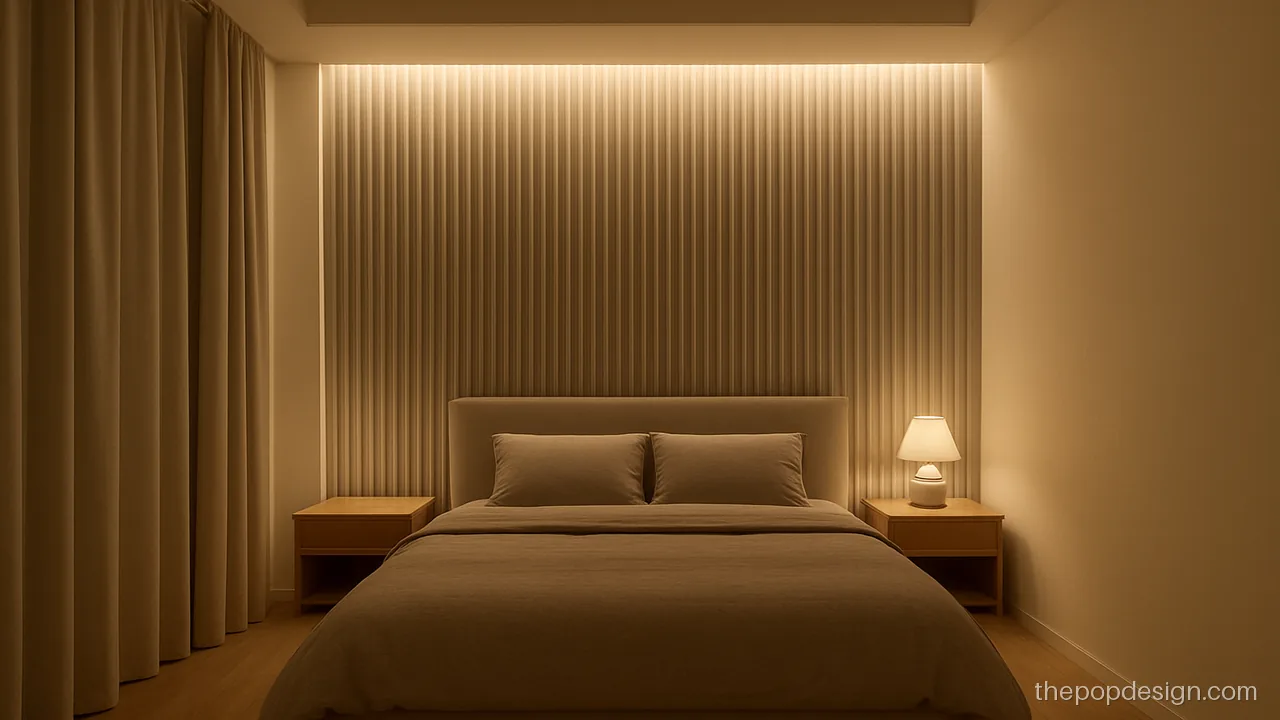
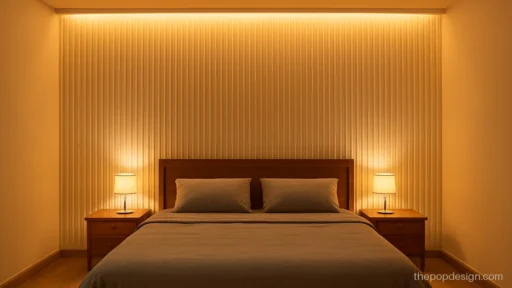
Fluted POP panels behind the bed add texture at low cost. Soft grey hides fingerprints near the headboard.
Contractor tip: Keep flutes evenly spaced with a marked board. Seal with primer before grey paint.
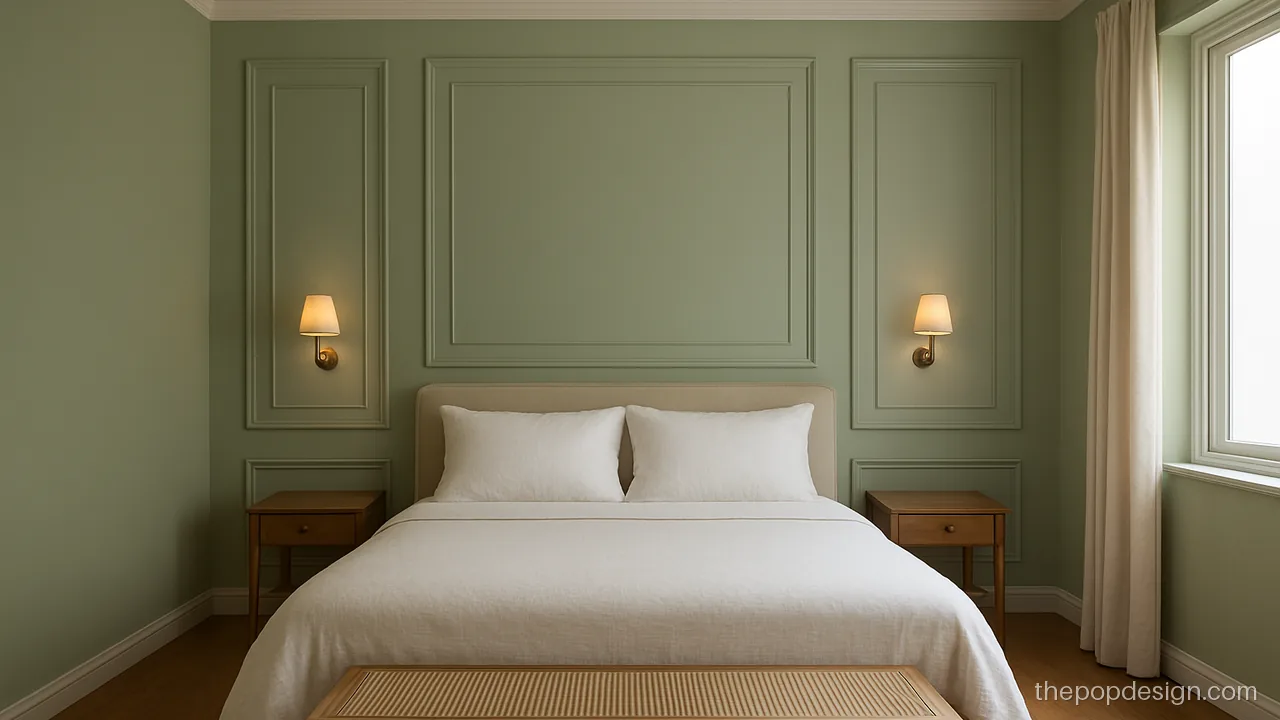
Simple moulding frames give a classic look behind the bed. Paint frames and wall in one colour for a quiet finish.
Contractor tip: Fix frames with POP adhesive and level each one. Fill joints before the final paint coat.
How to Choose a Bedroom POP Design for Your Room Size and Height
Measure the floor size and the slab height first. Then use this table as a start.
| Room and height | What suits | Drop at edges |
|---|---|---|
| 10 x 10 ft, under 9.5 ft | Thin border or moulding only | 0 to 4 in |
| 10 x 12 ft, about 10 ft | Single step with cove | 4 to 5 in |
| 12 x 14 ft, 10 ft or more | Plus minus or double step | 5 to 7 in |
| 14 x 16 ft, 10.5 ft or more | Layers, medallion, coffers | 6 to 8 in |
Choosing a bedroom POP design for bedroom sizes under 10 x 10 is mostly about restraint. Keep the drop at the walls and leave the middle high. For more ideas by size, see POP design by room size.
What to Tell Your POP Wala Before Work Starts
- Fan hook: the hook or anchor goes into the concrete slab. The downrod passes through the POP. Never hang a fan from POP.
- Bed position: fix where the bed goes first. The fan and the main design should sit above it.
- AC and curtains: leave space for the AC pipe and a curtain pocket if you want one.
- Light cut-outs: mark every spot and profile line on the slab with chalk and check from the bed.
- Drying: new POP needs about a week or more to dry before primer. Do not rush the painter.
- Level check: ask for a water level or laser check of every border before you pay the last part.
Lighting Plan for a Calm Bedroom
Use warm light (yellow, around 3000K) for cove and spots in bedrooms. Cool white is fine for a study corner or a wardrobe light. Put cove and spots on separate switches so you can keep just the cove on at night. Keep bright profile lines away from the pillow side. For more on strip lights, read our profile light design page.
POP design questions
Which is the best POP design for bedroom with a low ceiling?
A thin peripheral border or just moulding on a flat ceiling. Keep the drop at 4 inches or less. A slim cove facing up makes the room look taller.
Which bedroom POP design latest styles are popular right now?
Clean plus minus boxes in two tones, thin profile light lines and wood strip accents are popular this season. A good POP bedroom design keeps one feature and leaves the rest plain.
What POP design for bedroom 10x12 with fan works best?
A single step border about 18 inches wide with the fan in the centre of the plain rectangle. Add four spots and a warm cove. It keeps the room open and the fan clear.
Can a fan hang from the POP ceiling in the bedroom?
No. The fan must hang from a hook in the slab. The downrod passes through a hole in the POP. Ask the mistri to fix the hook before the frame goes up.
Is a bedroom modern simple POP design cheaper than plus minus?
Usually yes. Simple borders need less frame, less finishing and fewer lights. Plus minus has more edges to finish and paint. Read the POP design price guide for how cost is worked out.
How long does a bedroom POP ceiling take to finish?
Framing and POP for one bedroom often take a few days. Then it needs about a week or more to dry before primer and paint. Damp weather makes drying slower.